
Supplies
- FloraCraft® CraftFōM®:
- 8” Cube - White
- (2) Silk Amaryllis Stems
- (2) Silk Glittered Pine Branch
- (2) Silk Red Berry Branch
- (2) Silk Glittered Green Pom Branch
- (2) Natural Branch: Painted White
- 12” Decorative Mesh - Red
- 2” Ribbon - Christmas Print
- (3) Buttons - Coordinating Colors
Tools
- Low-Temp Glue Gun
- Scissors
- Wire Cutters
Instructions
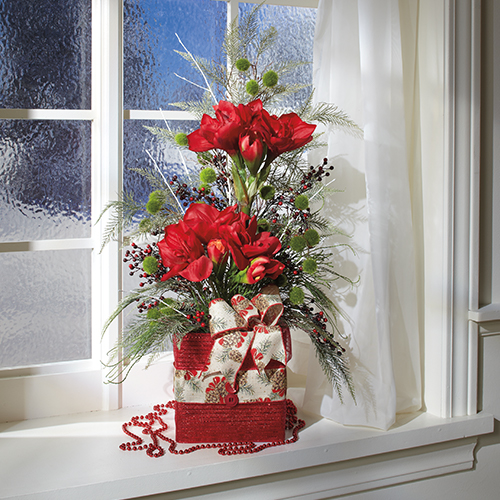
- Cut a 34″ length of decorative mesh to wrap around the cube. Line the bottom edge of the mesh with the bottom of the cube and fold over the excess at the top of the cube. Secure with low-temp glue at the back of the cube. Cut a 34″ length of ribbon and wrap it around the cube’s center. Secure with glue at the back. Glue the buttons to the front of the ribbon as shown. Tie a small bow from the ribbon and glue it to the front right corner of the cube.
- Cut one amaryllis stem to about 12 – 14″. Insert it into the cube’s center. Cut the other amaryllis stem to about 4″. Push this one into the cube in front of and just to the left of the first stem.
- Push a red berry branch behind the amaryllis to about the same height. Push in a green pom branch behind the red berry branch, to about 2″ taller. Push the pine branch in behind the green poms, standing about 3″ taller.
- Cut apart the remaining pine, pom, and berry branches. Insert into the arrangement to fill in around the amaryllis as shown.
- Cut apart the white branch and insert it evenly throughout the arrangement.
-
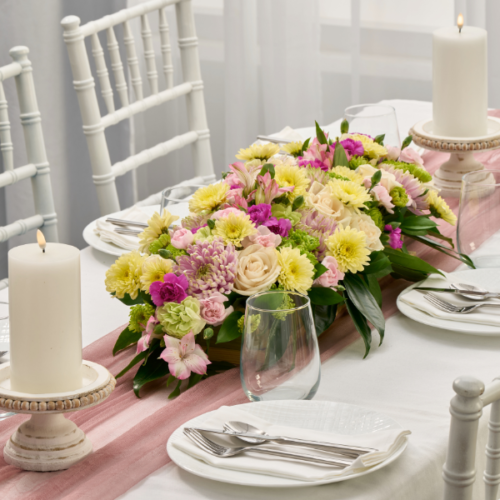 Fresh Spring CenterpieceSkill level: Intermediate
 -
 Bunny WreathSkill level: Beginner
 -
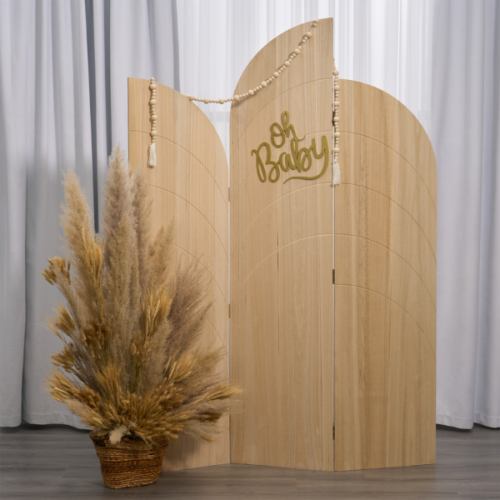
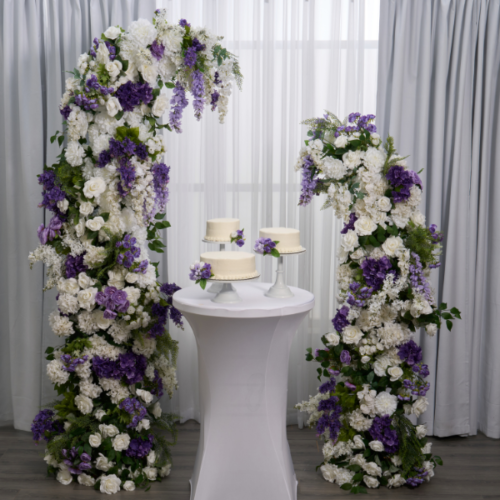 Faux Floral Broken ArchSkill level: Intermediate
 -
 Bright Summer TablescapeSkill level: Beginner
 -
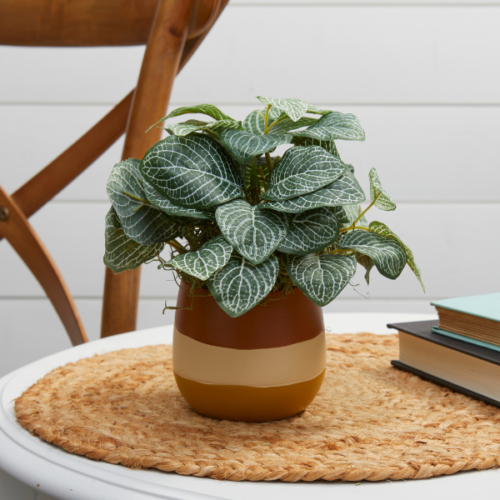 Boho Faux Potted PlantSkill level: Beginner
 -
 Boho Dried FloralsSkill level: Beginner
 -
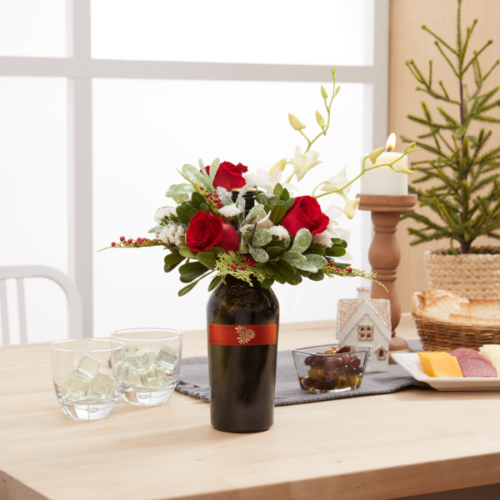 Holiday FloraCheers!®Skill level: Beginner
 -
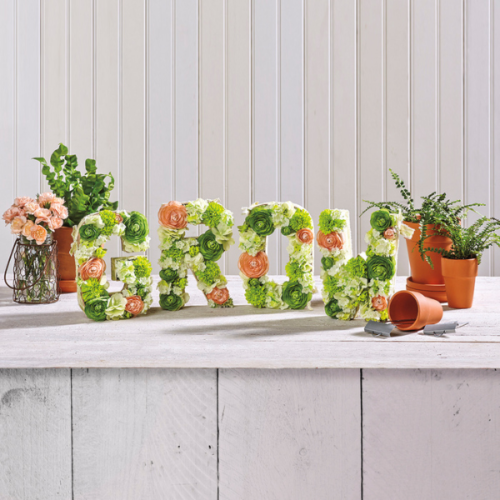 Floral Letter DecorSkill level: Beginner
 -
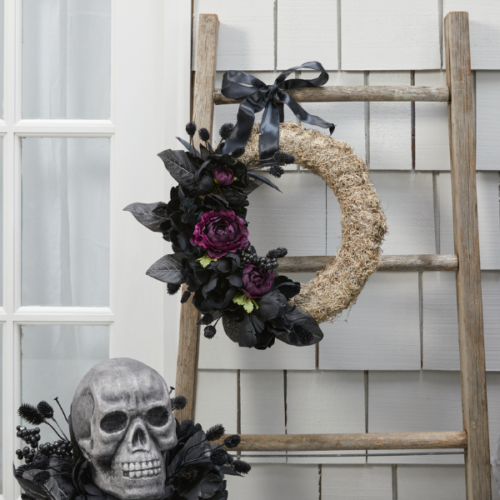 Dark Bloom WreathSkill level: Beginner
 -
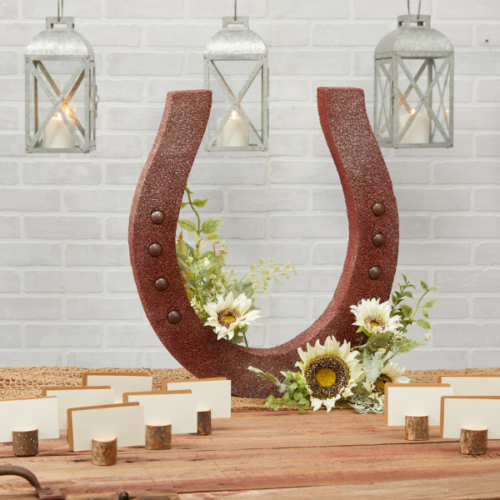 Horseshoe BloomSkill level: Beginner
 -
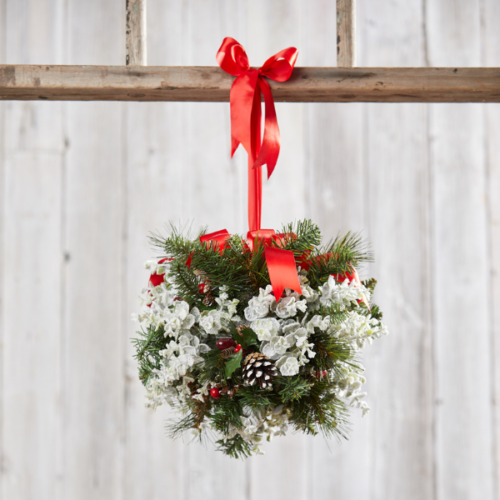 Evergreen PomanderSkill level: Beginner
 -
 Serpentine Floral TablescapeSkill level: Beginner
 Subscribe


