
Supplies
- FloraCraft® CraftFōM:
- (2) 4 7/8" Block - White
- 2 yd. x 5" Burlap Garland - Natural
- Avatrex™ Craft Attitude™ Inkjet Film:
- (2) 8 1/2" x 11" Sheets
- Spray Color:
- Terra Cotta
- Glossy Wood Tone
- 22" Tree Branch With Twigs
- (13) 2 3/4" Artificial Autumn Leaves or Number of Family or Guests
- 2yds. x 4mm Jute Twine - Natural
- Multi-Purpose Spray Adhesive
Tools
- Floral Shears
- Wire Cutter
- Ruler
- Precision Tip Scissors
- Computer and Inkjet Printer
- Copy Paper
- Low Hot Glue Gun and Glue Sticks
- Old Newspapers
- Cardboard Box for Spraying
Instructions
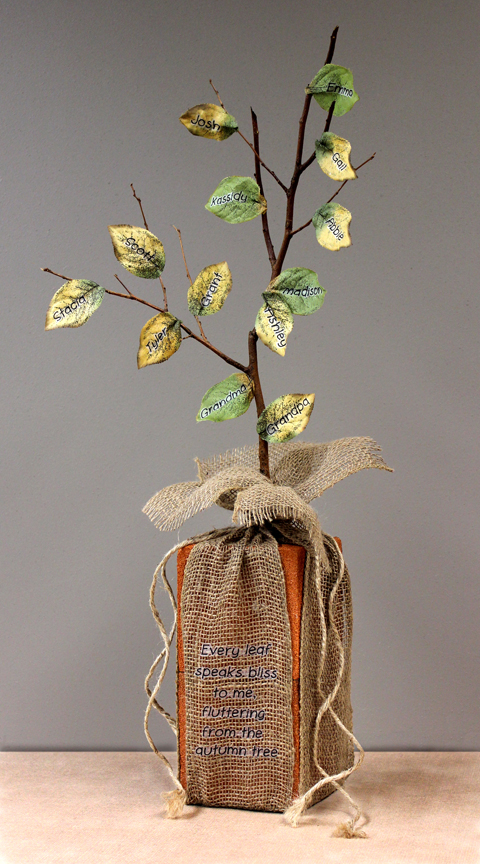
1. Stack one foam block on top of other and hot glue. In well-ventilated, newspaper-covered area, spray foam block unit on all sides with two coats Terra Cotta spray color. To slightly darken, lightly spray block unit and branch with Glossy Wood Tone. Let dry.
2. Use wire cutter to cut and trim branch as needed. Push bottom of branch into top center of block unit, about 2″ – 3″ deep. If loose, remove and hot glue.
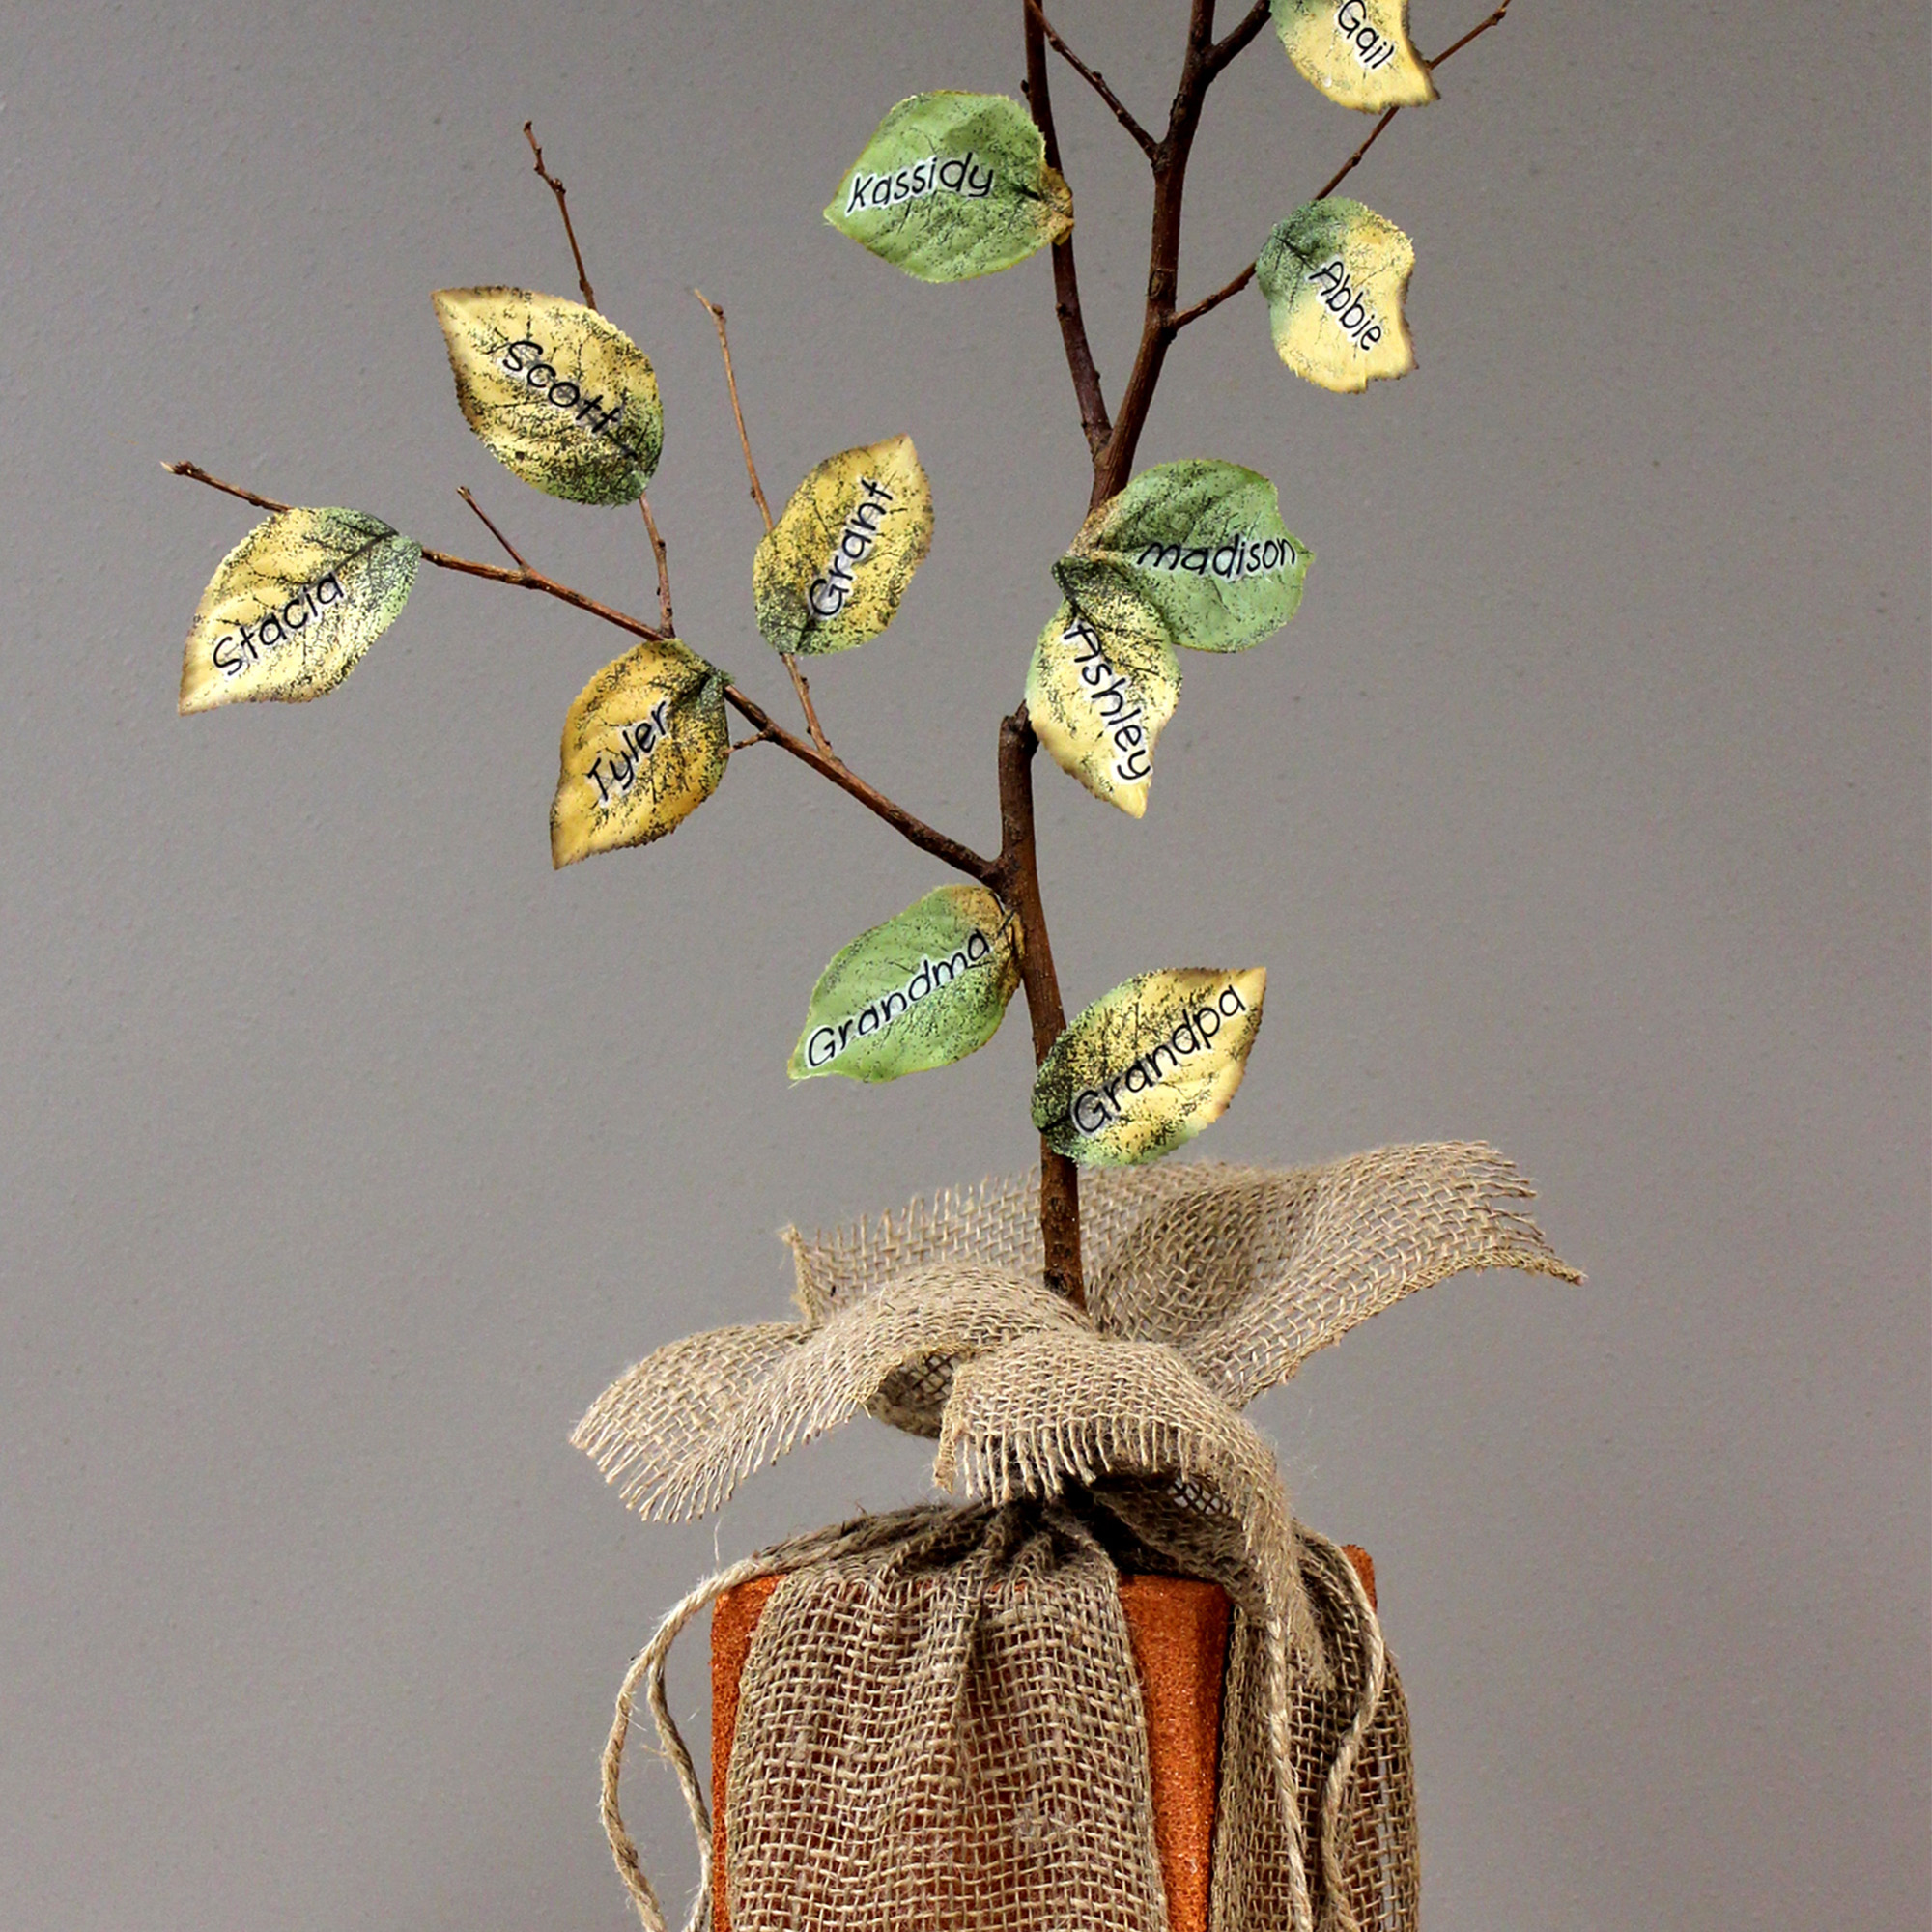
3. Use floral shears to cut two 1-yd. lengths of each: burlap garland and jute. Vertically place one length burlap garland on table. Horizontally cross other on top, in middle. Spot glue together just to hold. Set block unit onto burlap garland in center. Bring up two ends (on opposite sides) to top of block unit and finger gather at top to make nice folds around branch. Ask a helper to tightly tie and knot the middle of one length jute around gathers, tightly against branch. Similarly, bring up other two sides and gather, tying/knotting with other length jute. (Note: Allow corners of block unit to show.) Fray burlap and jute edges.
4. Read Avatrex™ Craft Attitude™ package instructions. Use computer and inkjet printer to print on Attitude™ sheet, following these tips:
∙ Print on glossy side of sheet, handling by edges only.
∙ Always print photo as mirror image. (See printer or computer for settings.) Note: Printed side of Attitude™ sheet will be turned over and attached to burlap and leaves so if you don’t print as mirror image, words will be backwards.
∙ Use “Photo” quality setting and “Glossy Photo Paper” media setting.
∙ Print only one sheet at a time.
∙ Be sure ink is dry, by waiting at least 2-3 hours before attaching. (Humid environments may take longer.)
∙ Wait to remove from backing sheet until directed.
5. Type saying for front of burlap, such as: “Every leaf speaks bliss to me, fluttering from the autumn tree.” Also type names of family members and guests. Size and arrange on page. (Note: Print on copy paper first to check size.) Then,
print mirror image onto glossy side of Attitude™ sheet.
6. Use small scissors to generally cut out names and lines of saying. Then detail cut approx. 1/8″ from letters. Remove green plastic stem/veins from backs of all leaves. In well-ventilated, newspaper-covered area inside cardboard box,
lightly spray printed side of Attitude™ words and names with spray adhesive. Position saying words on front burlap and each name on a leaf. Press firmly, remove backing sheet and smooth.
7. Refer to photo to randomly hot glue base of each leaf to branch, pinching and gathering slightly for dimension.
-
 Fresh Spring CenterpieceSkill level: Intermediate
 -
 Bunny WreathSkill level: Beginner
 -
 Faux Floral Broken ArchSkill level: Intermediate
 -
 Bright Summer TablescapeSkill level: Beginner
 -
 Boho Faux Potted PlantSkill level: Beginner
 -
 Boho Dried FloralsSkill level: Beginner
 -
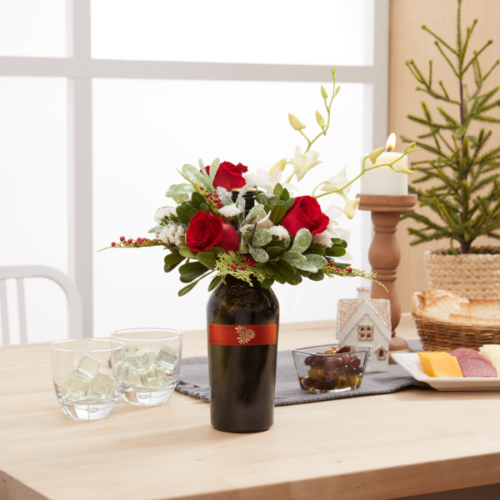 Holiday FloraCheers!®Skill level: Beginner
 -
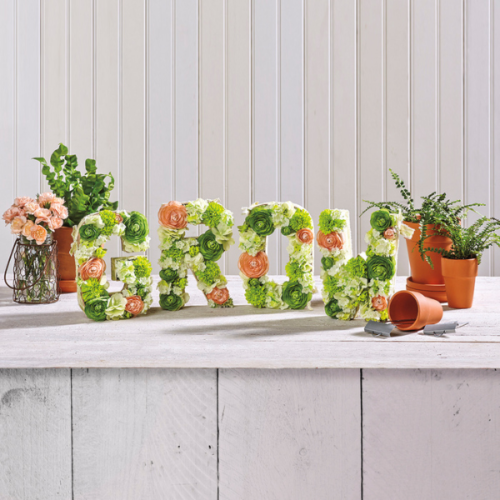 Floral Letter DecorSkill level: Beginner
 -
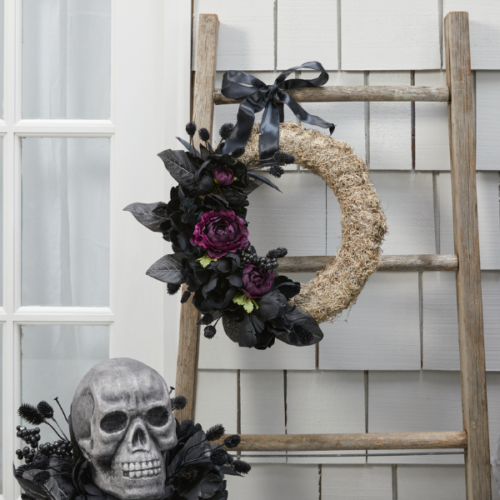 Dark Bloom WreathSkill level: Beginner
 -
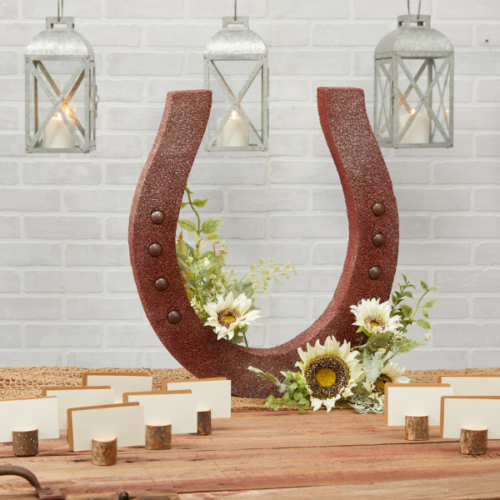 Horseshoe BloomSkill level: Beginner
 -
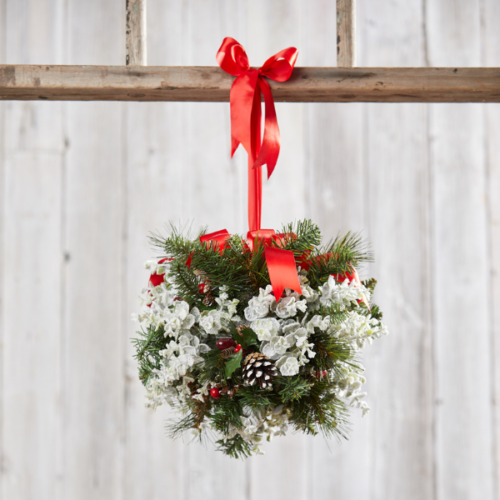 Evergreen PomanderSkill level: Beginner
 -
 Serpentine Floral TablescapeSkill level: Beginner
 Subscribe


