

Supplies
- FloraCraft® WetFōM® FloraCheers!®
- Large Bouquet of Fresh Flowers
- Bundle of Fresh Greenery/Filler
Tools
- Floral Shears or Floral Clippers
- Plastic Container (for soaking)
- Towel
Instructions
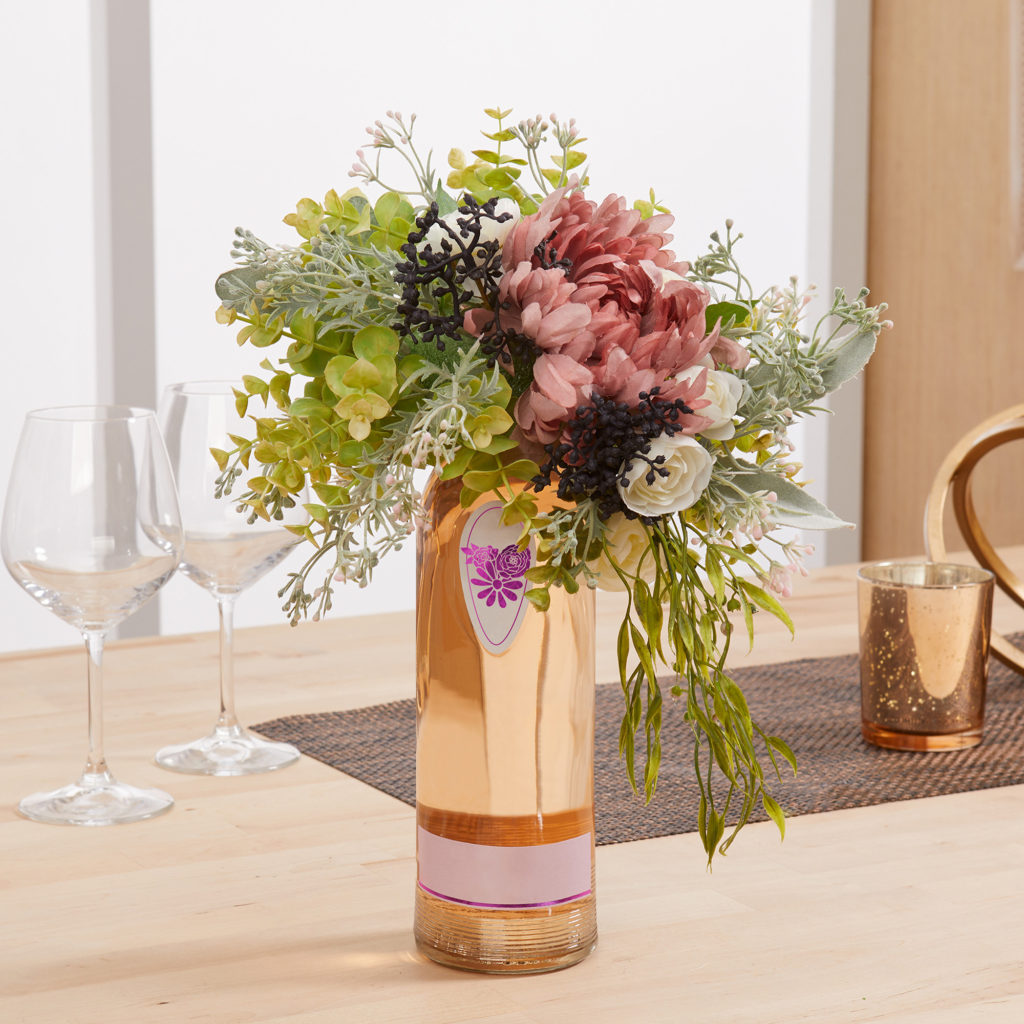
- Before starting to arrange, remove the flowers from the cellophane packaging. Save the packet of flower food. Fill a container with warm water (100 – 110 degrees Fahrenheit). Cut 1” off the ends of the stems and immediately place them in the water. If possible, cut the stem under water to prevent the flower from taking up any air after it is cut. Cut the stems at an angle. This allows them to take up water more easily as the cut stem is not sitting on the bottom of the vase. Remove any foliage that is below the water line. Let the flowers set in the warm water while you prepare the FloraCheers!®. Letting the flowers set in the warm water will help them open and relax from being wrapped up in cellophane.
- Grab a separate container, just big enough to let the FloraCheers!® soak freely without touching the sides or bottom. Fill the container with enough warm water (100-110 degrees Fahrenheit) and properly mix the flower food as instructed on the packet. Place the FloraCheers!® foam side down onto the water’s surface and let it float freely; do not force underwater. Forcing underwater will cause air to be trapped inside and will not allow the foam to soak fully. As it floats, it will soak up the floral preservative water and force out any air inside the foam. Soak freely until no air bubbles are seen escaping. Pull the foam from the water and let it drip for a few seconds. Place the FloraCheers!® on the towel or a tray while arranging. As you insert stems into the foam, water is displaced and will escape while arranging. After the stems have all been inserted, the foam will hold the remaining water
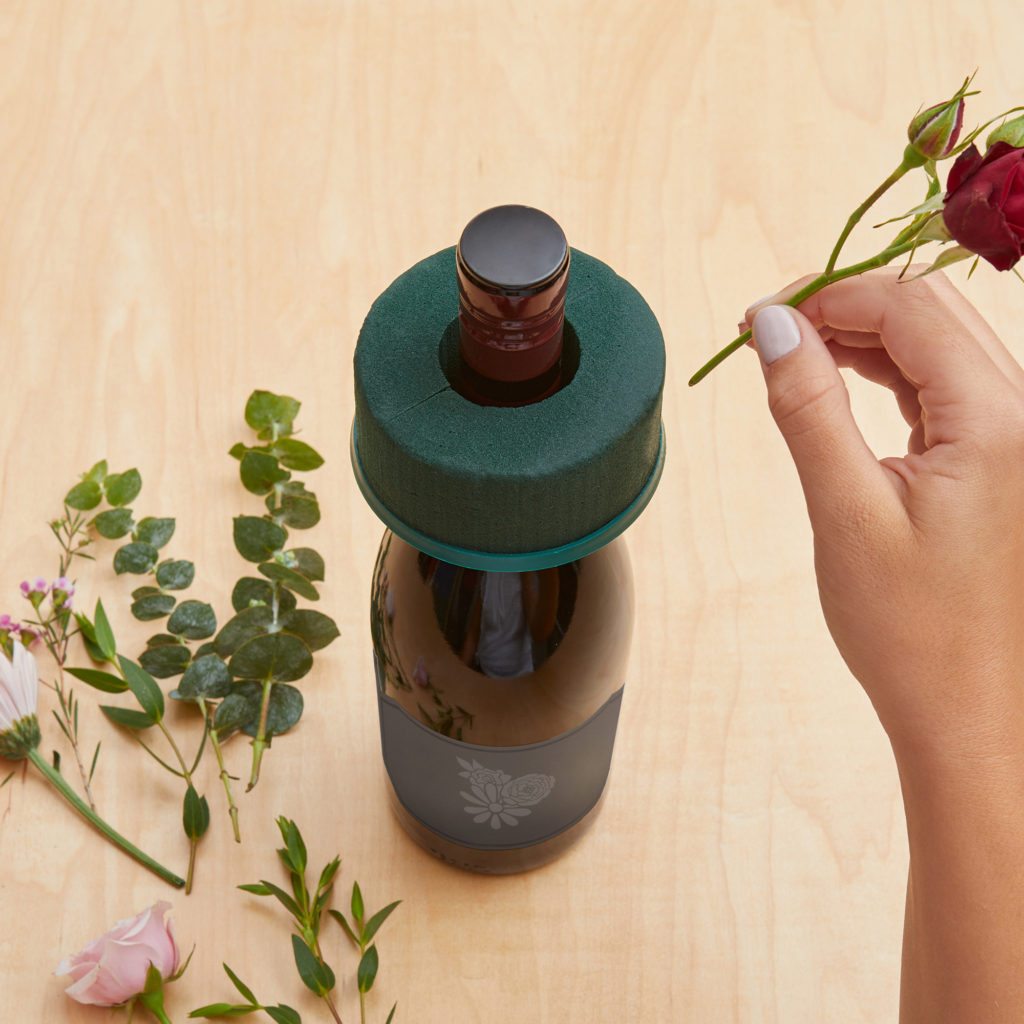
- Lighter-weight flowers with smaller stems will work best with the FloraCheers. Begin cutting the stems at about 1.5-1.75″ long. Insert the stems at an angle from the surface of the foam. Do not push the stems straight from the side, or they will come out the other side of the foam and have no water source. Stems that are too long will also prevent you from placing the arrangement on the bottle. Pushing the stems into the foam at an angle gives them more support and keeps them in contact with the foam. Once you place a flower, it can’t be pulled up from its original place, or it will create an air pocket and the stem will not have a water source. If you need to move a stem, re-insert it so it is always in contact with the foam. A properly inserted stem will hold its position and not move in the foam.
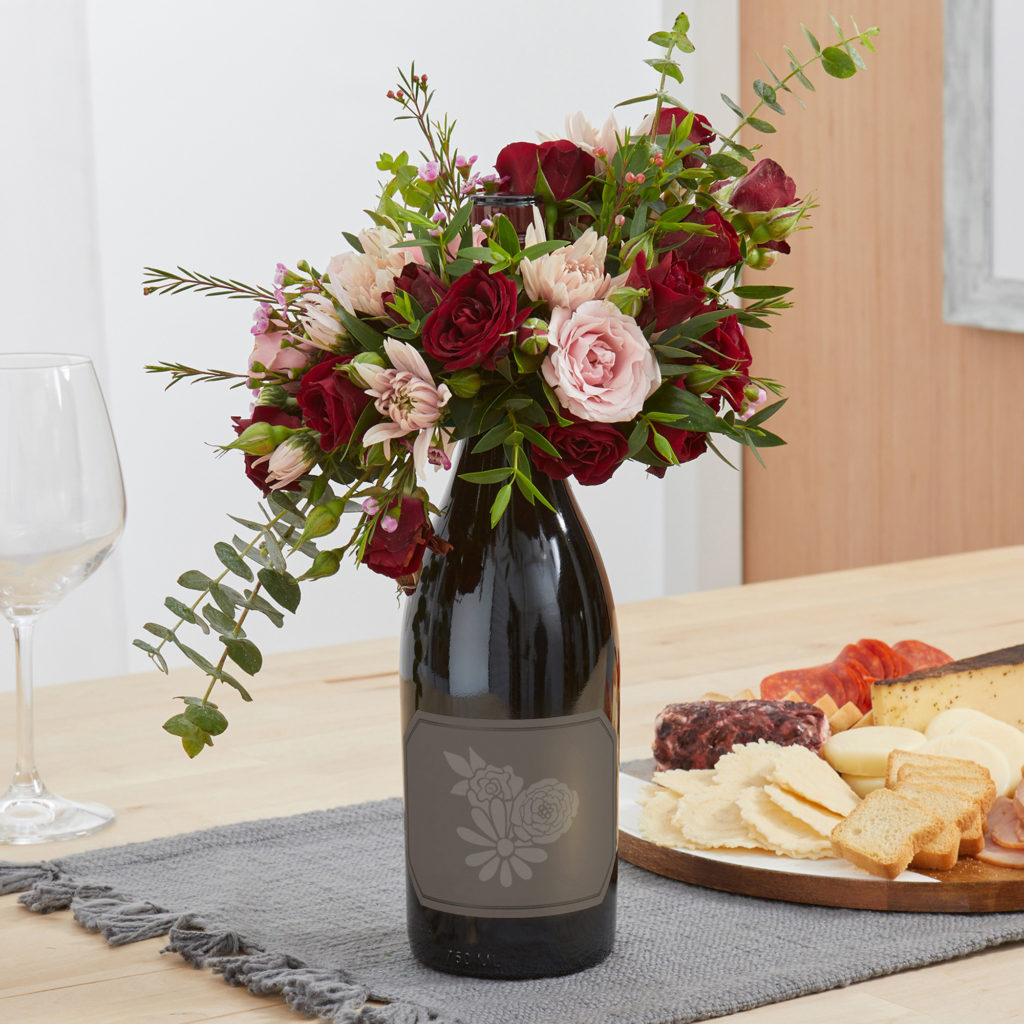
- After choosing how you want the flowers arranged, cut the focal flower stems at an angle between 1-1.75″, depending on the weight of the blossom, and insert them into the foam. Next, insert the filler flowers evenly spaced around the focal flowers. Insert the greenery to fill in any exposed foam until all foam is covered.
TIP: Start with a plan of how you would like the flowers arranged. A good place to start is with the focal flowers. The focal flowers are usually the largest or boldest colored blossoms that catch your eye. Decide whether you want a one-sided or full-round arrangement depending on your bouquet. A one-sided arrangement is viewed from one side and might have 1 to 3 focal flowers facing the front with filler flowers and greenery filling in around the rest of the foam. A full round arrangement will look similar from any direction, with the focal flowers evenly spaced among the filler flowers and greenery around the entire arrangement.
If you prefer to work with silk or dried flowers, look for the FloraCheers!® in FloraFōM for silk flowers or Desert DryFōM for dried flowers!
-
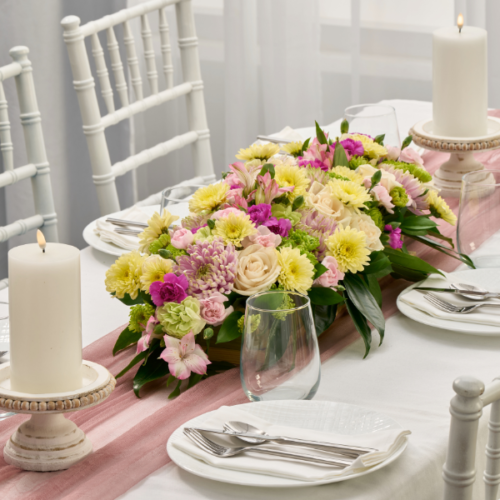 Fresh Spring CenterpieceSkill level: Intermediate
 -
 Bunny WreathSkill level: Beginner
 -
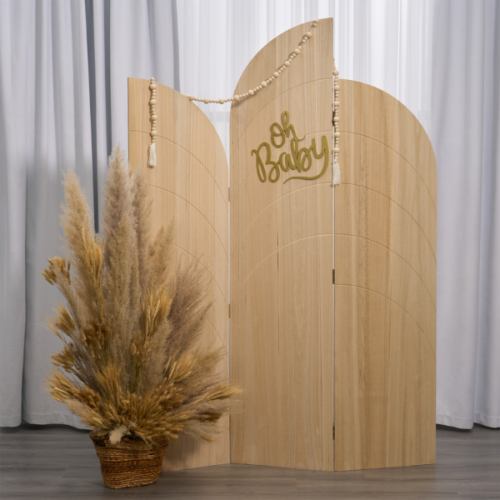
 Faux Floral Broken ArchSkill level: Intermediate
 -
 Bright Summer TablescapeSkill level: Beginner
 -
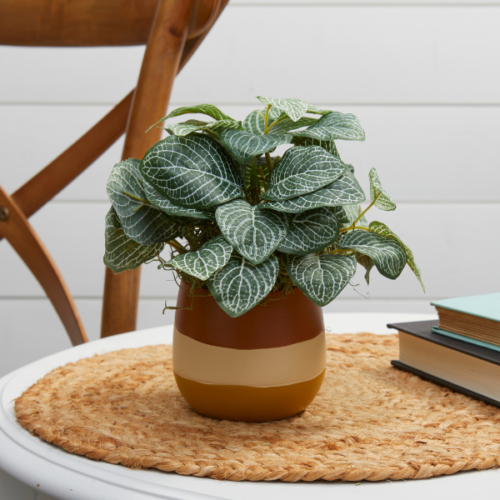 Boho Faux Potted PlantSkill level: Beginner
 -
 Boho Dried FloralsSkill level: Beginner
 -
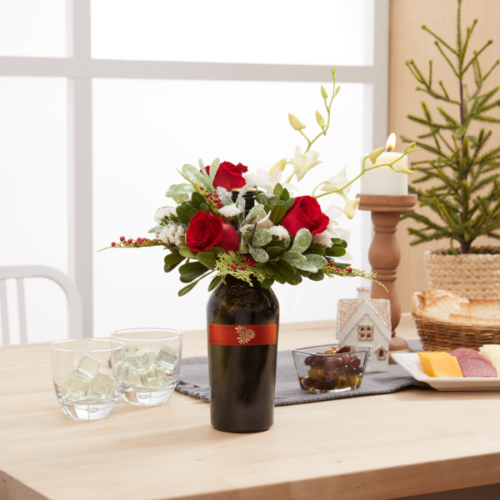 Holiday FloraCheers!®Skill level: Beginner
 -
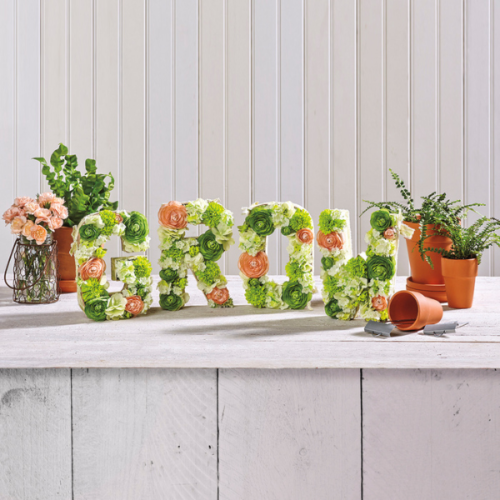 Floral Letter DecorSkill level: Beginner
 -
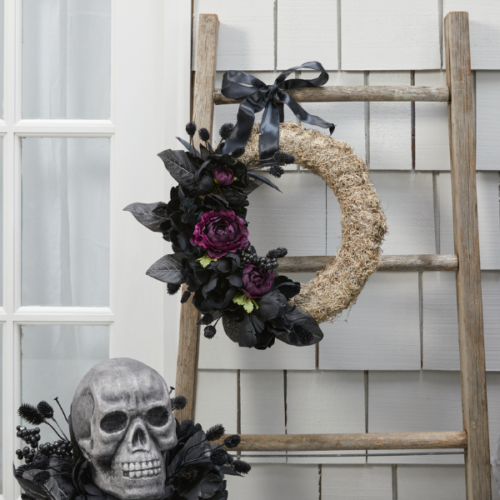 Dark Bloom WreathSkill level: Beginner
 -
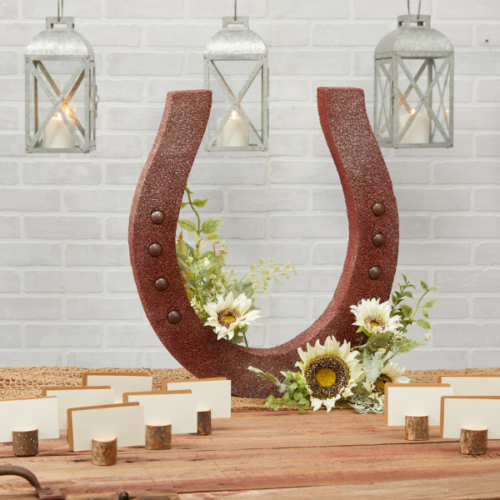 Horseshoe BloomSkill level: Beginner
 -
 Evergreen PomanderSkill level: Beginner
 -
 Serpentine Floral TablescapeSkill level: Beginner
 Subscribe


