
Supplies
- FloraCraft® DryFōM®:
- 8" Half Ball - Green
- 7 1/2" x 4" Tall Paper Mache Box
- Silver Spray Glitter
- Yellow Daisy Bush
- 12" x 12" Double-Sided Green Patterned Cardstock Paper
- 1 yd. x 3/8" Wide Ribbon, Yellow Polka Dot
- 25" x 7/8" Wide Ribbon - Plaid
- (3) 1 1/2" Nylon Butterflies - Light Green
Tools
- Ruler
- Scissors
- Glue Gun and Glue Sticks
- Pencil
- Wire Cutter
- Foam Cutter or Serrated Knife
Instructions
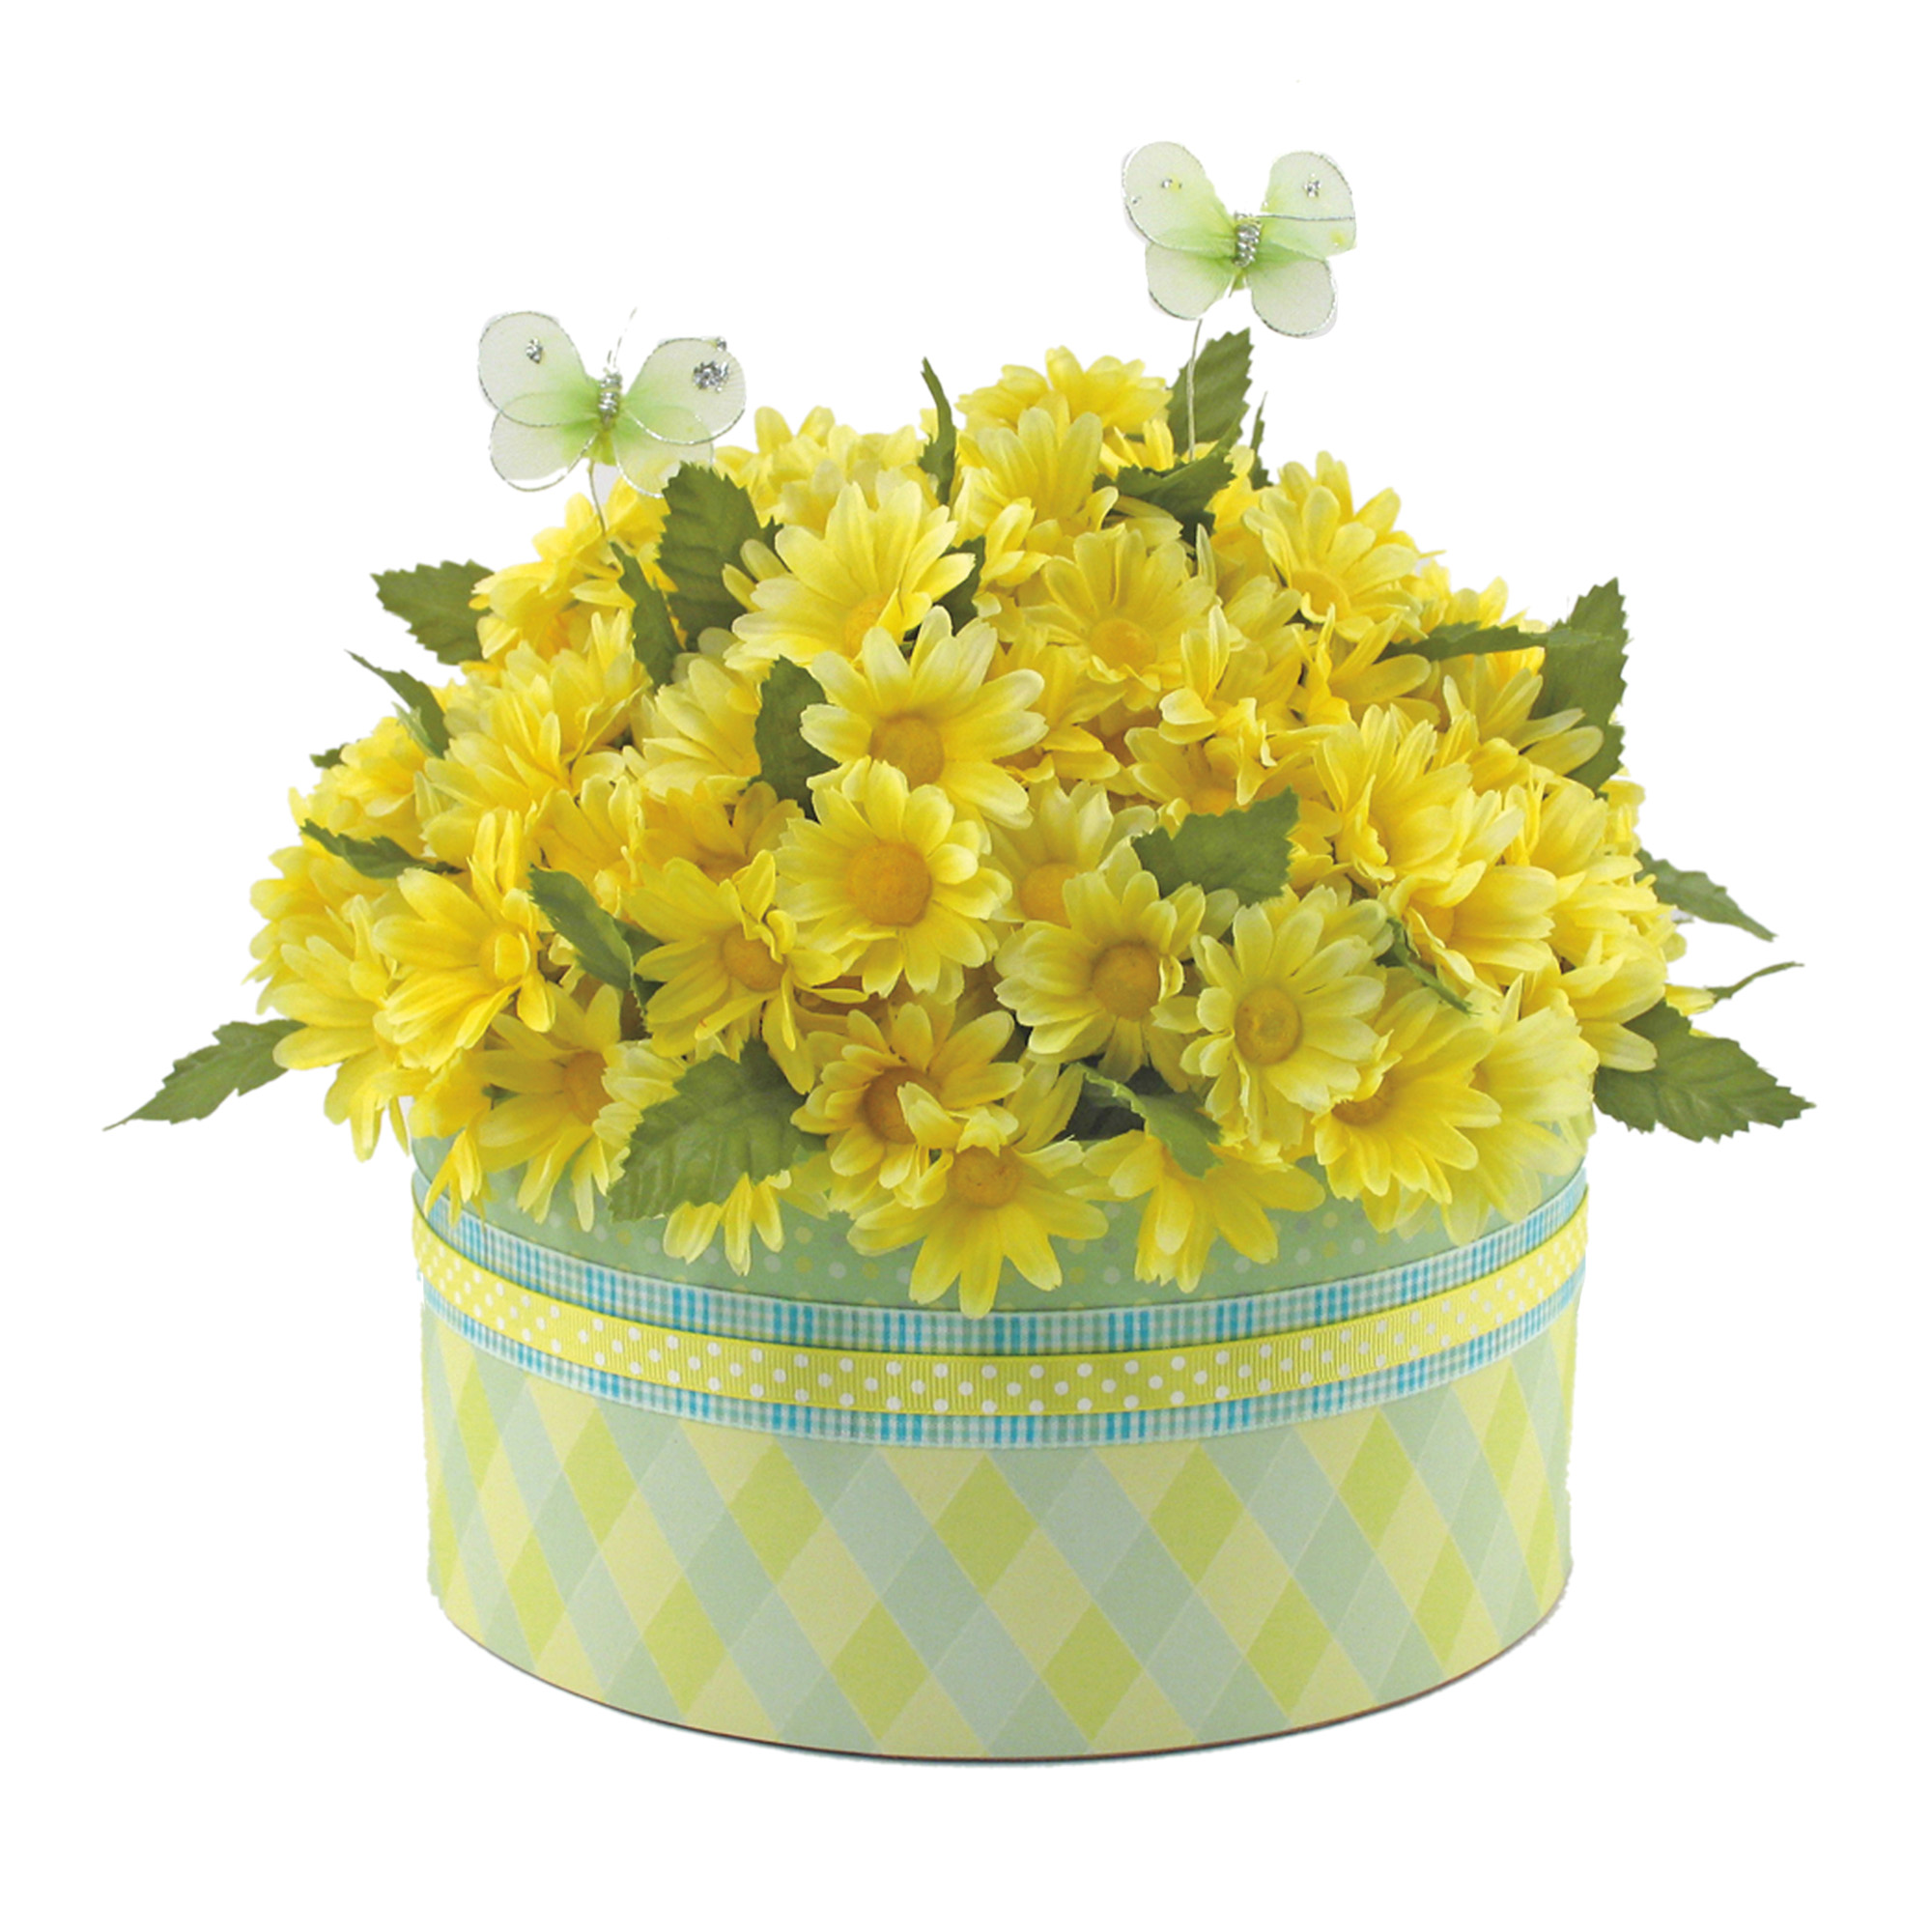
- Adhere to paper. Measure and cut two pieces of paper 2 1/2″ x 12″ and cut two additional pieces 1 1/2″ x 12″. Decide which side of the paper to use for the top and bottom of the box. Adhere pieces to the box with a glue stick, aligning paper at top and bottom edges. Glue so the seams meet.
- Attach ribbon. Cut yellow polka dot ribbon into two 4 1/2″ lengths. Glue at vertical seams of paper, folding edges over at top rim and bottom of the box. Glue plaid ribbon around box centering ribbon over the horizontal seam of papers. With the remaining yellow polka dot ribbon, center and glue over the plaid ribbon.
- Prepare floral foam. Place the flat side of floral foam on the work surface. Use a serrated knife to cut slices off the bottom edge of floral foam, just enough to wedge into the box.
- Insert daisies and butterflies. Cut daisy stems as needed and insert them into the foam in a row, leaving the bottom 2″ uncovered on both sides. Then fill in with remaining flowers, leaving the bottom 2″ uncovered all around. Insert butterflies into the arrangement. Insert floral foam into the box and lightly spray the arrangement with silver glitter spray. Let dry.
-
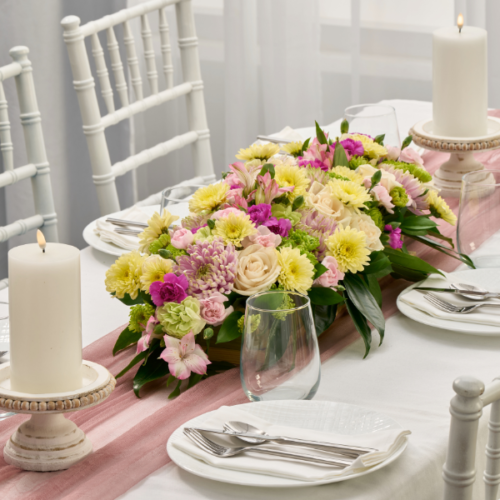 Fresh Spring CenterpieceSkill level: Intermediate
 -
 Bunny WreathSkill level: Beginner
 -
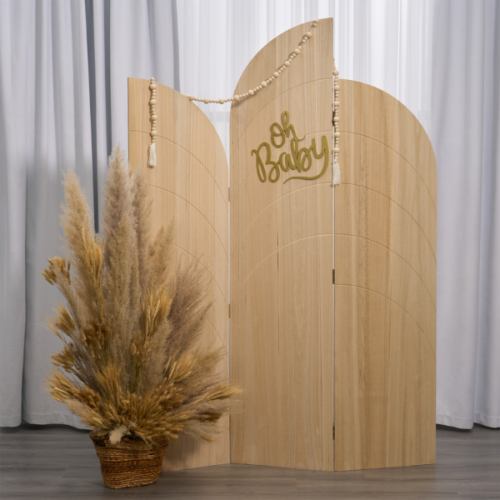
 Faux Floral Broken ArchSkill level: Intermediate
 -
 Bright Summer TablescapeSkill level: Beginner
 -
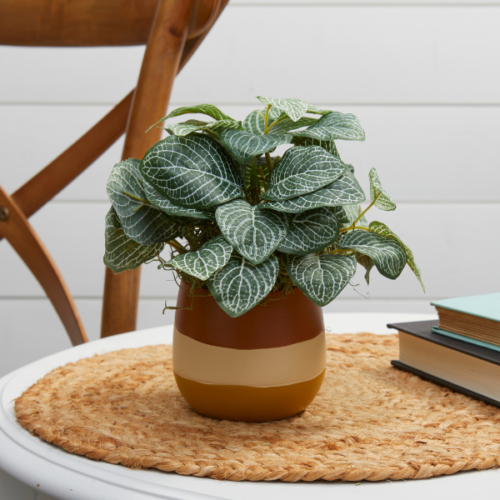 Boho Faux Potted PlantSkill level: Beginner
 -
 Boho Dried FloralsSkill level: Beginner
 -
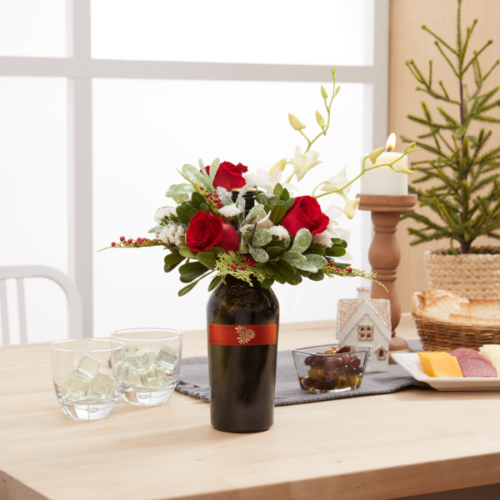 Holiday FloraCheers!®Skill level: Beginner
 -
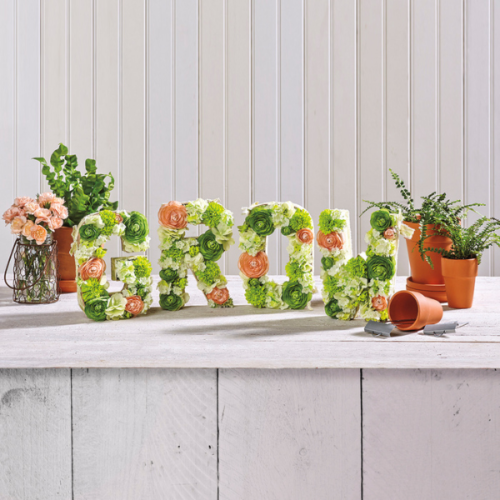 Floral Letter DecorSkill level: Beginner
 -
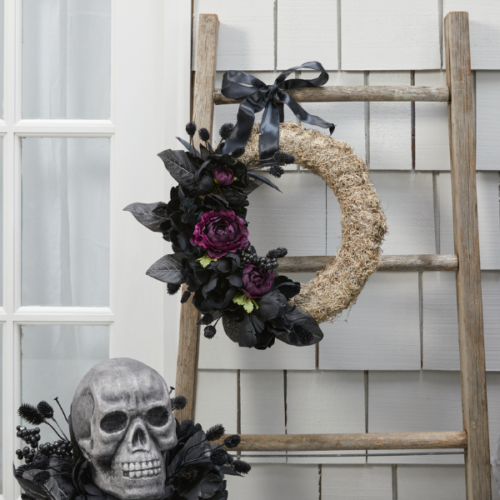 Dark Bloom WreathSkill level: Beginner
 -
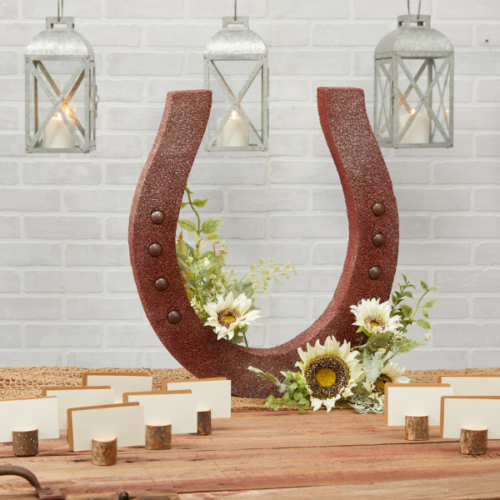 Horseshoe BloomSkill level: Beginner
 -
 Evergreen PomanderSkill level: Beginner
 -
 Serpentine Floral TablescapeSkill level: Beginner
 Subscribe


