
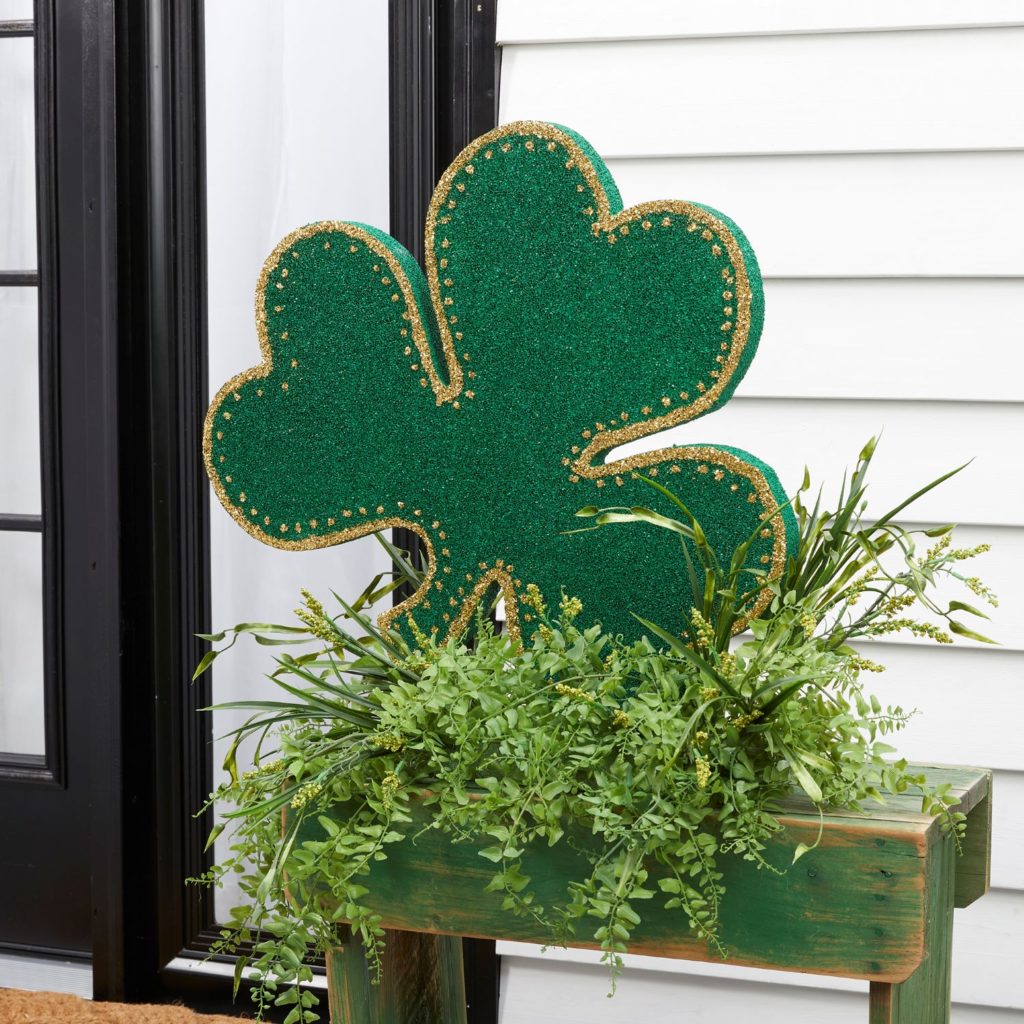
Supplies
- FloraCraft® FloraFōM®:
- (2) 2”x 12”x 18” Sheets – Green
- Acrylic Paint or Spray Paint – Green
- Acrylic Paint – Metallic Gold
- Assorted Foliage and Greenery
- ¼” Wood Dowel
Tools
- Clean-Kut® FōM Cutter or Serrated Edge Blade
- Low-Temp Glue Gun
- Paint Brush or Roller
- Small Detail Brush
Instructions
- Find a shamrock shape online to use as your pattern or hand draw a pattern. Print out your pattern and cut it out to use as your template.
- To create a larger foam piece, glue the two 12”x 18” sheets together along the 18” edge.
- If using a serrated knife or hand saw to cut out the shape; pin the template to the foam and use a marker to trace the template onto the foam. Be sure to hold the blade at a 90-degree angle to the face of the foam to ensure you get a straight edge. Use a sawing motion, let the teeth of the blade do the work.
- TIP: If using the Clean-Kut® FōM Cutter; use thicker cardstock as a template. This allows you to run the foam cutter along the edge as a guide for a smooth even cut. Pin your template securely to the foam. Use short sequin pins to keep them from pushing through the other side of the foam. When pinning be sure to pin straight down into the foam through the template. If the pins are at an angle, you will run into them with the foam cutter and not have a clean straight edge.
- Read the instructions included in the Clean-Kut® packaging before starting. Turn on the tool by twisting the black collar at the base of the blade and allow to heat up. Pierce the blade straight into the foam next to the template edge. Keep the blade at a 90-degree angle to the top of the foam while cutting. Always keep the blade moving as stopping the blade too long will burn the foam. If you need to stop pull the blade out while you stop and then reinsert to continue cutting. Don’t push too hard on the blade, if the blade is bending; you are pushing too hard. Let the tool do the work using the edge of the cardstock template as a guide.
- Use scrap pieces of foam as sanding blocks to smooth away any rough, uneven edges.
- Use acrylic paint or spray paint to color the shamrock your desired green. Use a large flat brush or a roller to apply the paint to the foam. If two coats are needed, let one coat dry before applying the next.
- If using spray paint to color the shamrock; hold the can 12” – 14” away from the foam as you spray to prevent melting the foam. Apply light even coats. Do not try to spray too heavy of a coat. Apply several light coats to get your desired shade letting each coat dry before applying the next.
- Use the small brush and add detailing to the shamrock with the gold paint, let dry.
- Insert the dowel into the bottom of the shamrock, leaving 2” to insert into the base and secure in place with glue. Lay the 2”x 4”x 12” foam base on the table and glue the shamrock onto the base.
- Arrange the foliage and greenery around the base. Add glue to the stems before inserting for a more secure hold.
-
 Fresh Spring CenterpieceSkill level: Intermediate
 -
 Bunny WreathSkill level: Beginner
 -
 Faux Floral Broken ArchSkill level: Intermediate
 -
 Bright Summer TablescapeSkill level: Beginner
 -
 Boho Faux Potted PlantSkill level: Beginner
 -
 Boho Dried FloralsSkill level: Beginner
 -
 Birthday Gift Tumbler MugSkill level: Beginner
 -
 Birthday Era GarlandSkill level: Beginner
 -
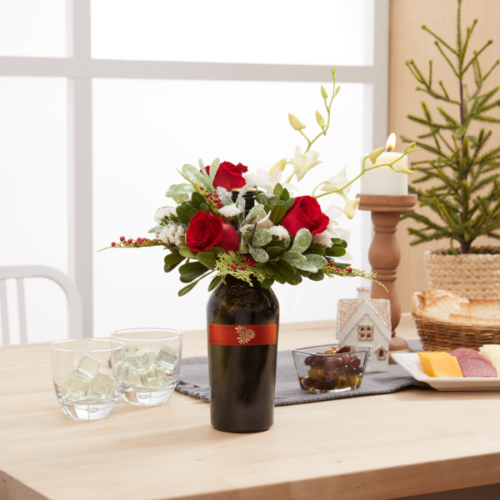 Holiday FloraCheers!®Skill level: Beginner
 -
 Floral Letter DecorSkill level: Beginner
 -
 Kitchen Word ArtSkill level: Beginner
 -
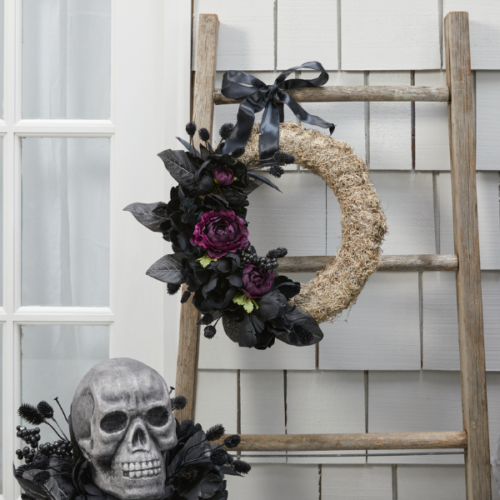 Dark Bloom WreathSkill level: Beginner
 Subscribe


