
Supplies
- FloraCraft® CraftFōM®:
- (1) 1” x 12” x 36” Sheet -- White
- Acrylic Paint:
- Gold
- Blush
- Fine Glitter:
- Gold
- Blush
- Cardstock Paper
Tools
- Scissors
- Pencil
- Paint Brush
- Short Sequin Pins
- Clean-Kut® Foam Cutter
Instructions
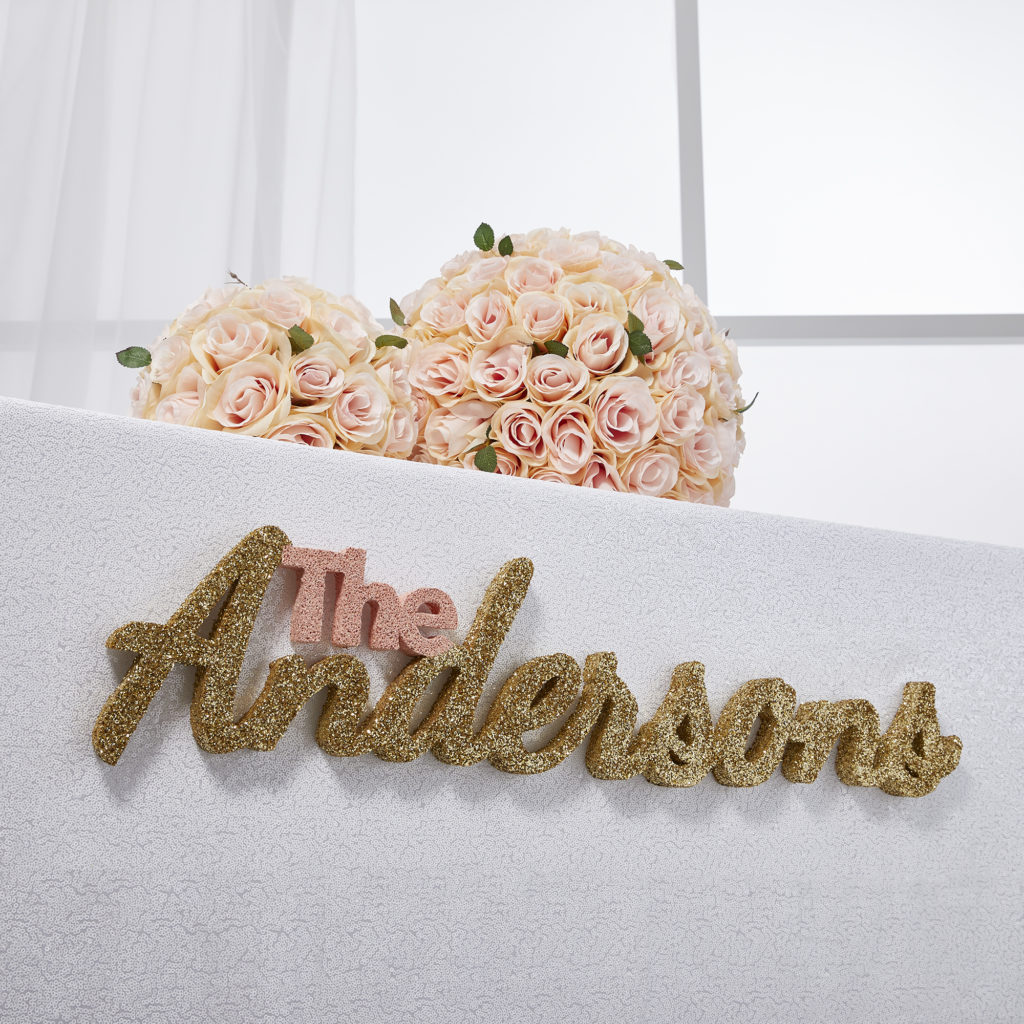
- Create your template. Choose a font that has no breaks in the word. Be sure all the letters connect to one another. You may have to customize your template to incorporate “The” above your name.
NOTE: On this project, the bottom of the “e” in “The” is painted onto the top of the “d” in the name. And the top of the “T” is painted onto the top of the “A” to keep the words connected.
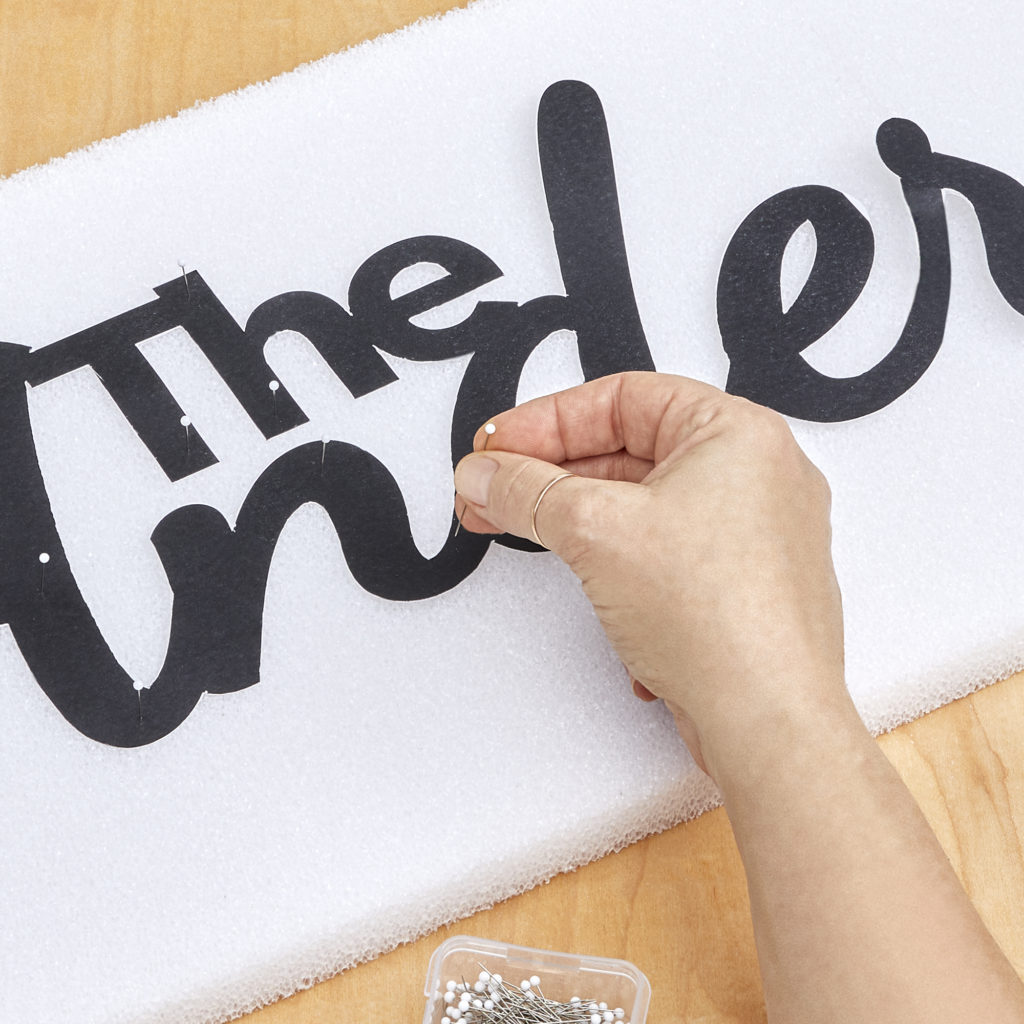
Print out your template and cut it out of the cardstock to use as your template.
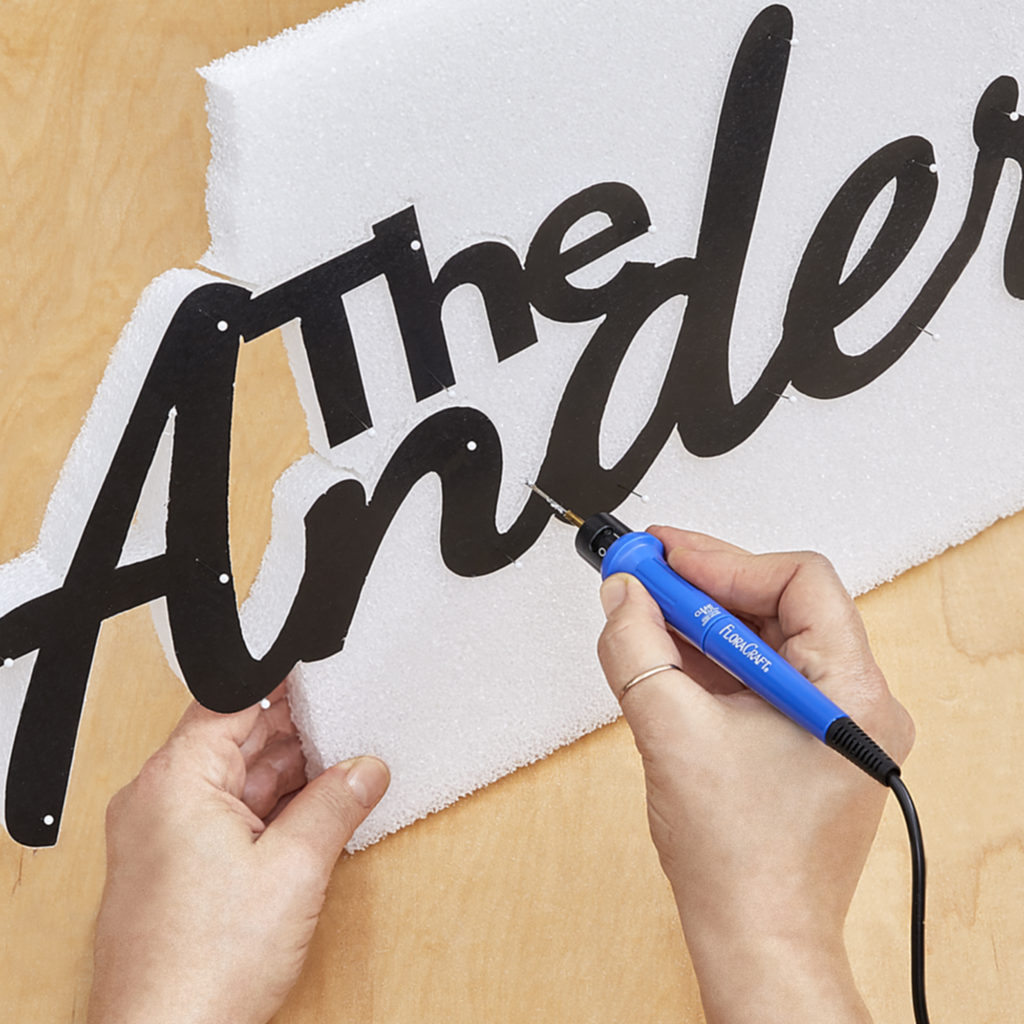
TIP: Using the thicker cardstock as a template allows you to run the foam cutter along the edge as a guide for a smooth even cut. Pin your template securely to the foam. Use short sequin pins to keep them from pushing through the other side of the foam. When pinning be sure to pin straight down into the foam through the template. If the pins are at an angle, you will run into them with the foam cutter and not have a clean straight edge.
- Read the instructions included in the Clean-Kut® packaging before starting. Turn on the tool by twisting the black collar at the base of the blade and allow to heat up. Pierce the blade straight into the foam next to the template edge. Keep the blade at a 90-degree angle to the top of the foam while cutting. Always keep the blade moving as stopping the blade too long will burn the foam. If you need to stop pull the blade out while you stop and then reinsert to continue cutting. Don’t push too hard on the blade, if the blade is bending you are pushing too hard. Let the tool do the work using the edge of the cardstock template as a guide. The cut-out will be delicate. If you wish to reinforce the foam you can cut the template out of posterboard and glue it to the back of the foam.
- You can use the paint as glue to adhere the glitter to the foam. Sprinkle with glitter while the paint is wet, and the paint adheres the glitter to the foam as it dries. If you’re using two colors of glitter, be sure the first color is dry before applying the second color to avoid getting the glitter stuck together.
TIP: Painting the foam the same color as the glitter makes it less noticeable if the glitter flakes off because it’s the same color underneath.
NOTE: To attach the name to the tablecloth at the front table we used upholstery twist tacks through the back of the tablecloth and into the foam. It’s best to have two people. One to sit under the table and do the pinning and one to hold the foam name and make sure it’s straight.
-
 Birthday Gift Tumbler MugSkill level: Beginner
 -
 Birthday Era GarlandSkill level: Beginner
 -
 Kitchen Word ArtSkill level: Beginner
 -
 Front Porch ReindeerSkill level: Beginner
 -
 Disco Party DécorSkill level: Beginner
 -
 Jute Covered Disc Wall DécorSkill level: Beginner
 -
 Fabric Ruffled Chicken DecorSkill level: Beginner
 -
 Garden Bug FriendsSkill level: Beginner
 -
 Long Legged SpiderSkill level: Beginner
 -
 Glitter Anchor DécorSkill level: Beginner
 -
 Gold Glitter StarSkill level: Beginner
 -
 Haunted Mantle DecorSkill level: Beginner
 Subscribe


