
Supplies
- FloraCraft® CraftFōM®:
- (2) 1”x12”x36” Sheets - White
- (3) 6” Discs - White
- Acrylic Paint:
- Forest Green
- White
- Medium Brown
- Dark Brown
- Craft Sticks
- Cardstock
- Carved Tree_Large
- Carved Tree_Medium
- Carved Tree_Small
Tools
- FloraCraft® StyroCutter® Plus
- Foam Cutter or Serrated Knife
- Low-Temp Glue Gun
- Scissors
- Paint Brush
Instructions
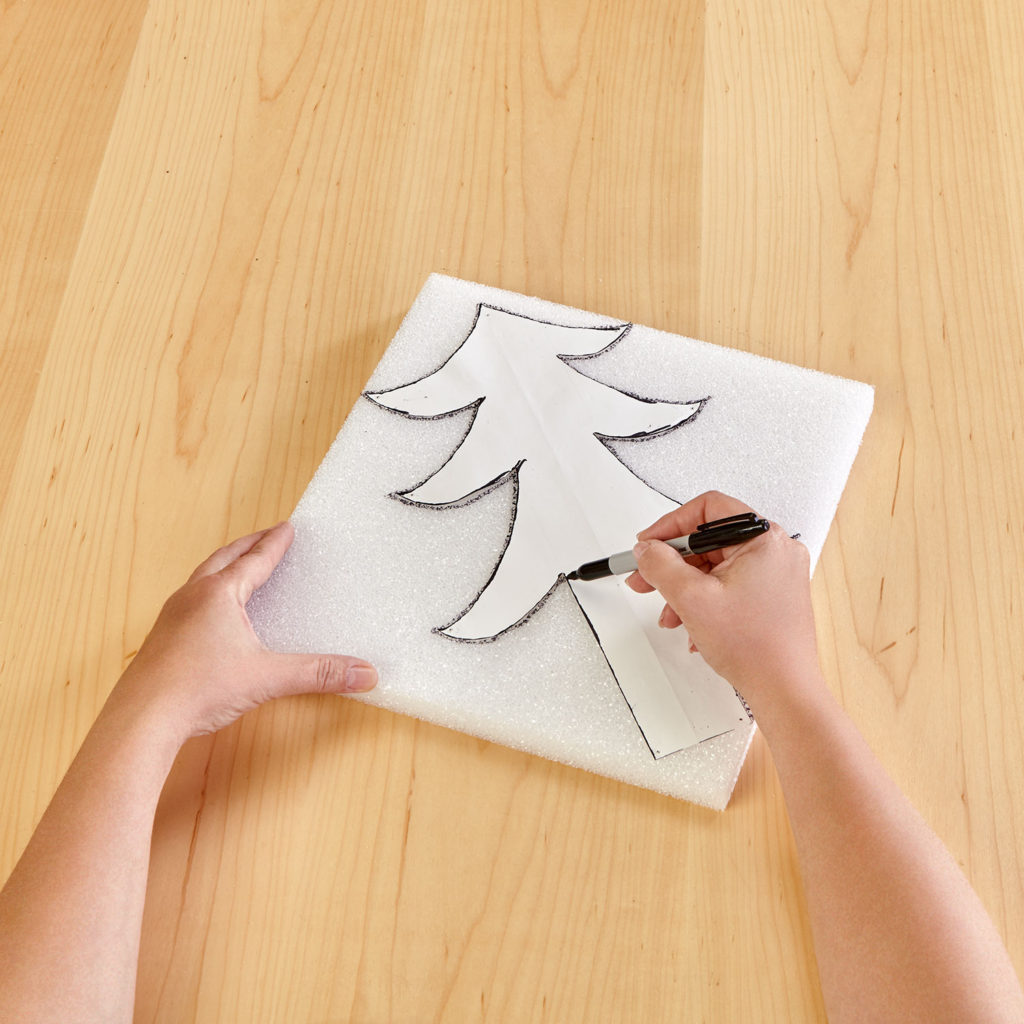
- Print templates on cardstock and cut out. Pin the templates to the foam sheets and trace with black marker.
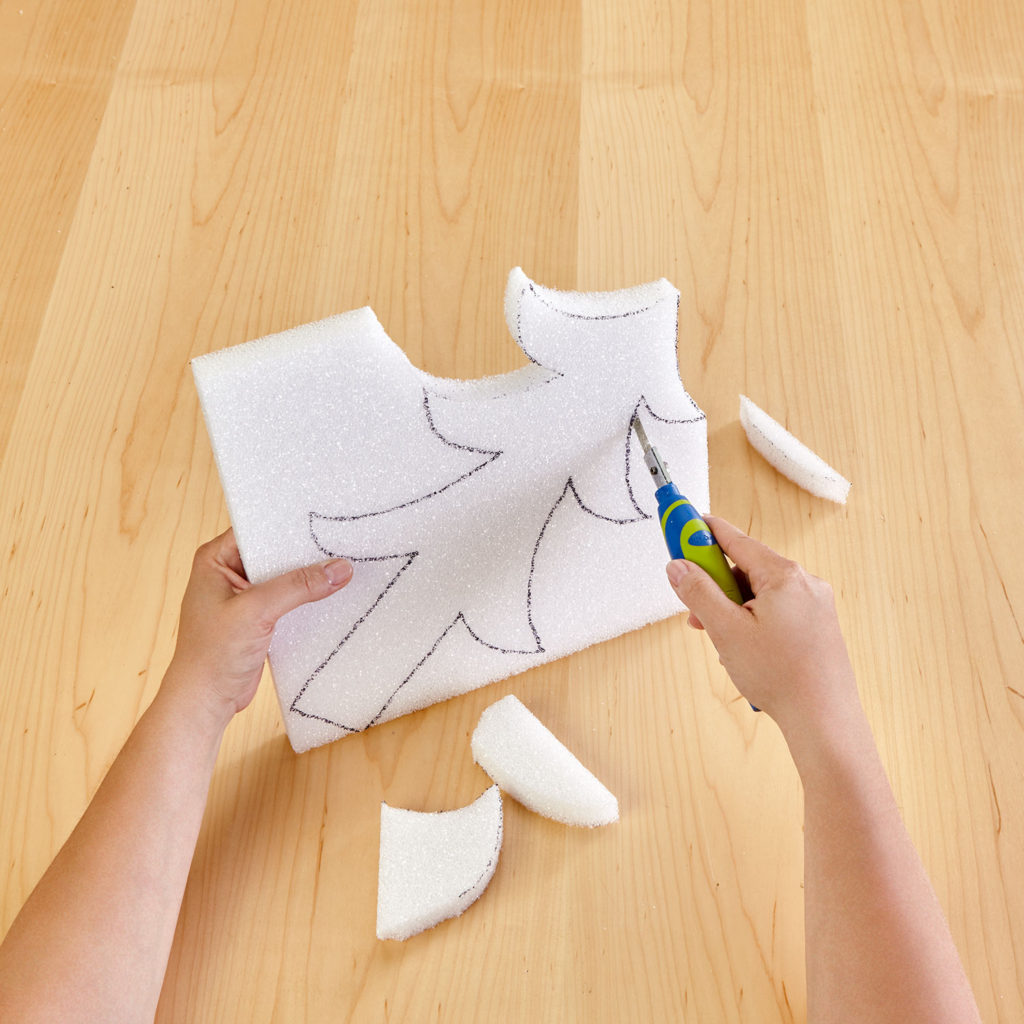
- Cut out the trees using the foam cutter or serrated knife.
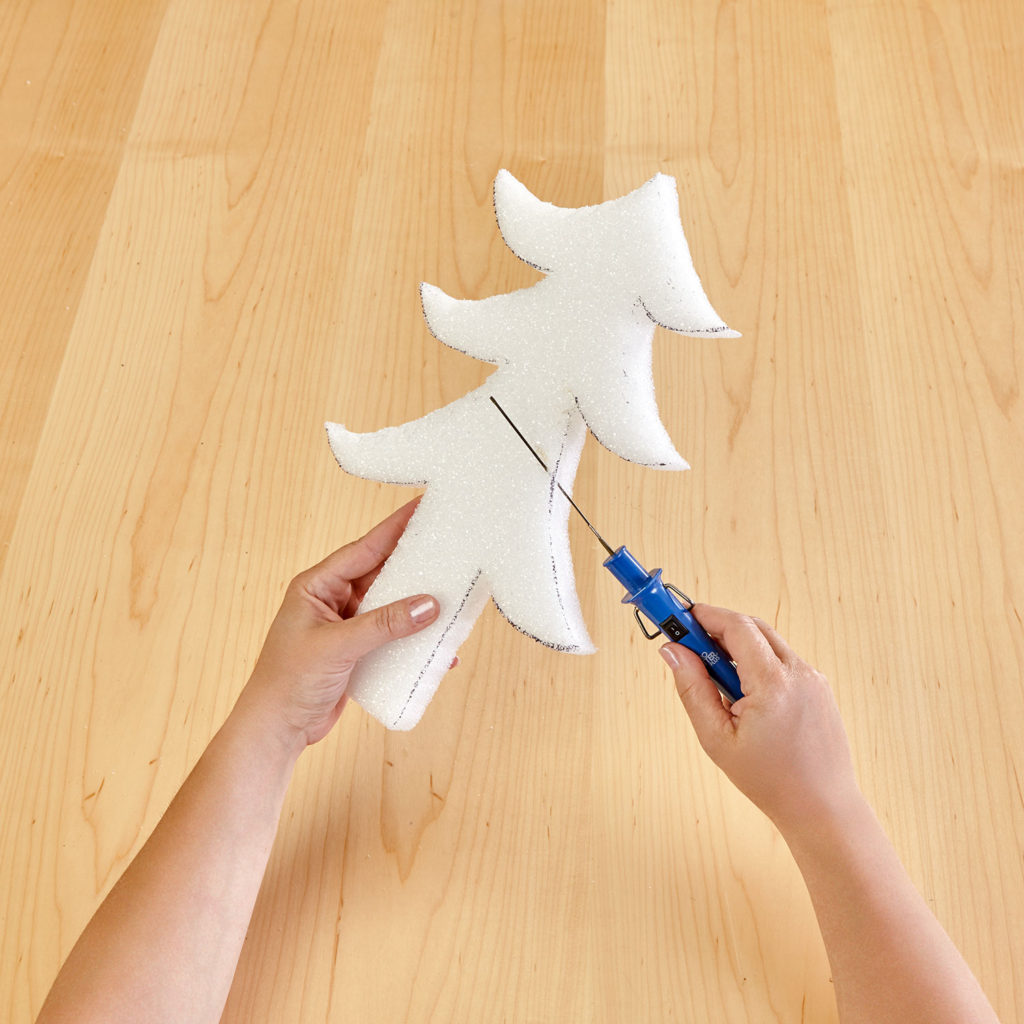
- Following the package instructions, carefully carve ripples in the edges of the tree fronts using the StyroCutter® Plus. This gives a carved wood look to the foam trees. Also, carve ripples into the edges of the trunks.
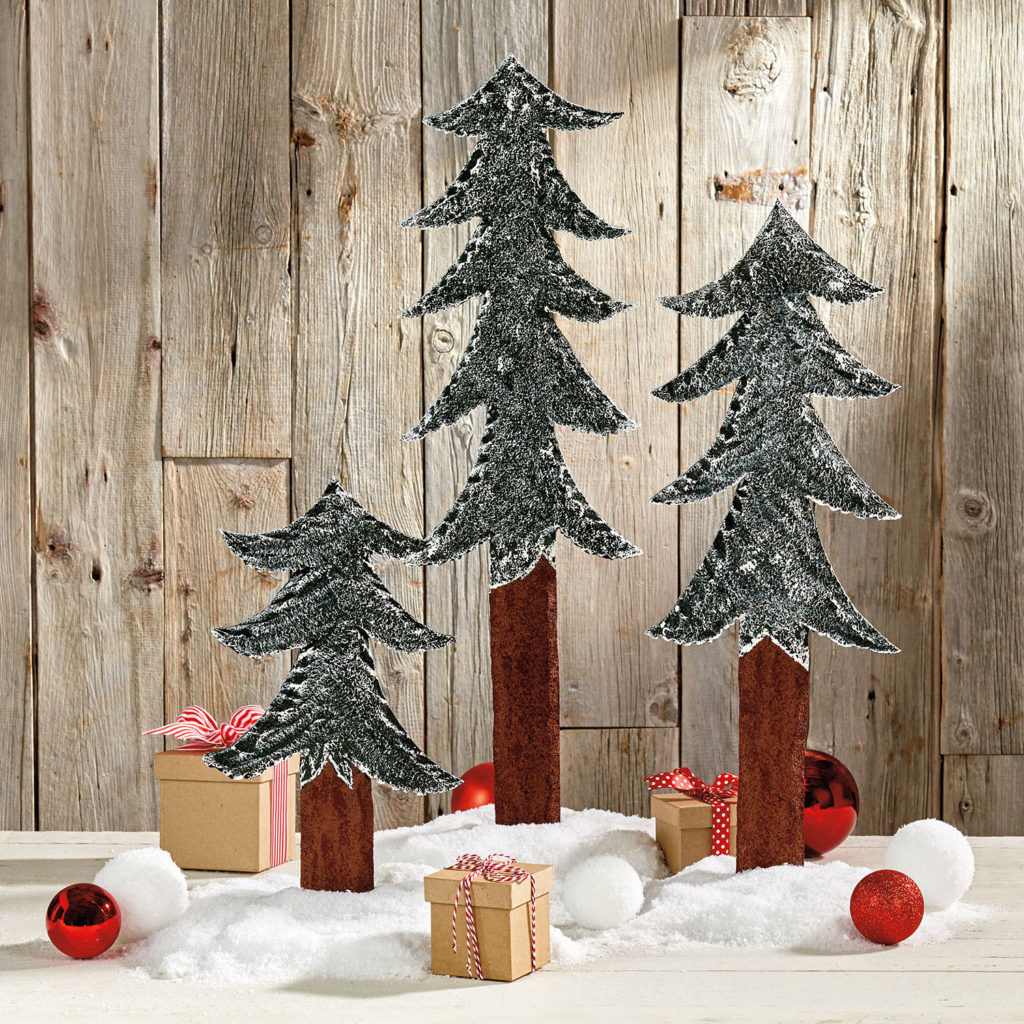
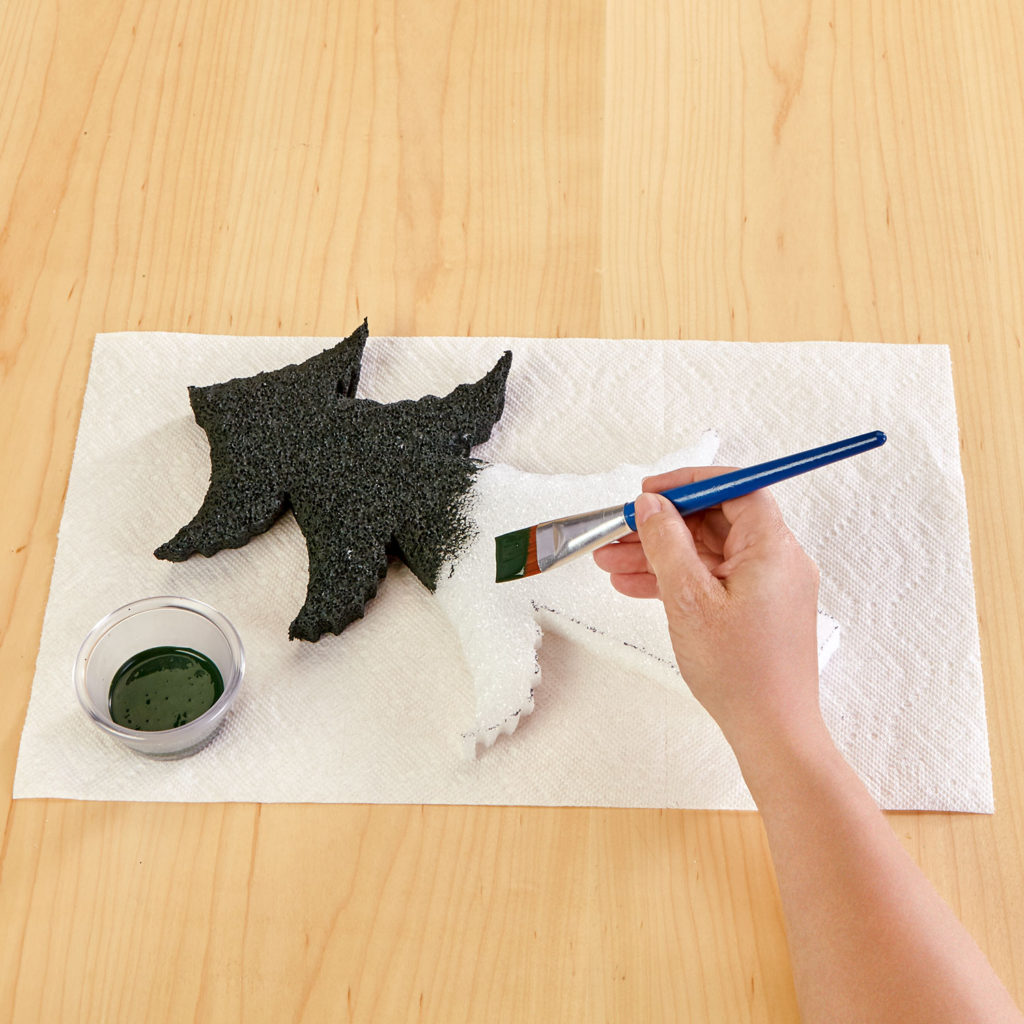
- Paint the trees green and the trunks medium brown as shown and let dry.
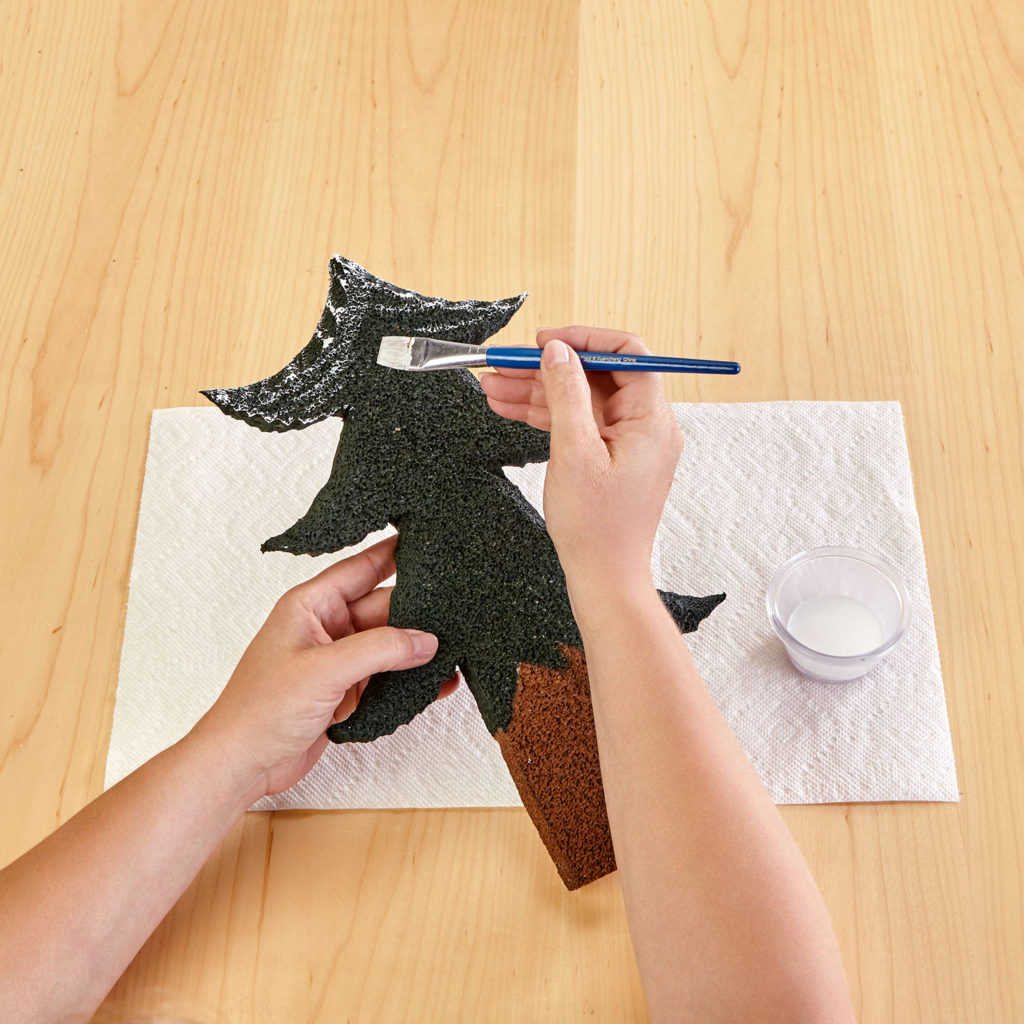
- To give the trees a snow-covered look, lightly brush white paint over the green, letting the green show through. Repeat over tree trunks with dark brown paint to add dimension.
- Glue craft sticks into the bottom of the tree trunks leaving 1” sticking out. Glue the other end into the center of the foam discs to display.
-
 Birthday Gift Tumbler MugSkill level: Beginner
 -
 Birthday Era GarlandSkill level: Beginner
 -
 Kitchen Word ArtSkill level: Beginner
 -
 Front Porch ReindeerSkill level: Beginner
 -
 Disco Party DécorSkill level: Beginner
 -
 Jute Covered Disc Wall DécorSkill level: Beginner
 -
 Fabric Ruffled Chicken DecorSkill level: Beginner
 -
 Garden Bug FriendsSkill level: Beginner
 -
 Long Legged SpiderSkill level: Beginner
 -
 Glitter Anchor DécorSkill level: Beginner
 -
 Gold Glitter StarSkill level: Beginner
 -
 Haunted Mantle DecorSkill level: Beginner
 Subscribe


