
Supplies
- FloraCraft® CraftFōM®:
- (1) 4” Egg - White
- (2) 3” Egg - White
- (1) 2.5” Egg - White
- (1) 1.5” Ball - White
- (1) 2” Ball - White
- Acrylic Paint:
- Green
- Bright Green
- Fabric Paint:
- Black
- Green
- Pink
- Purple
- 15mm Animal Eyes or Wiggle Eyes
- 4mm Black Beads
- Craft Foam Sheets:
- Light Green
- White
- Pink
- Black
- Chenille Stems:
- Green
- Pink
- Brown
- (1) 2" White Pompom
- (2) White Feathers
- Small Heart-Shaped Jewels
- Floral Wire - White Wrapped
- ½” Ribbon - Green/Gold
- Toothpicks
Tools
- Foam Cutter or Serrated Knife
- Low-Temp Glue Gun
- Glue Sticks
- Scissors
Instructions
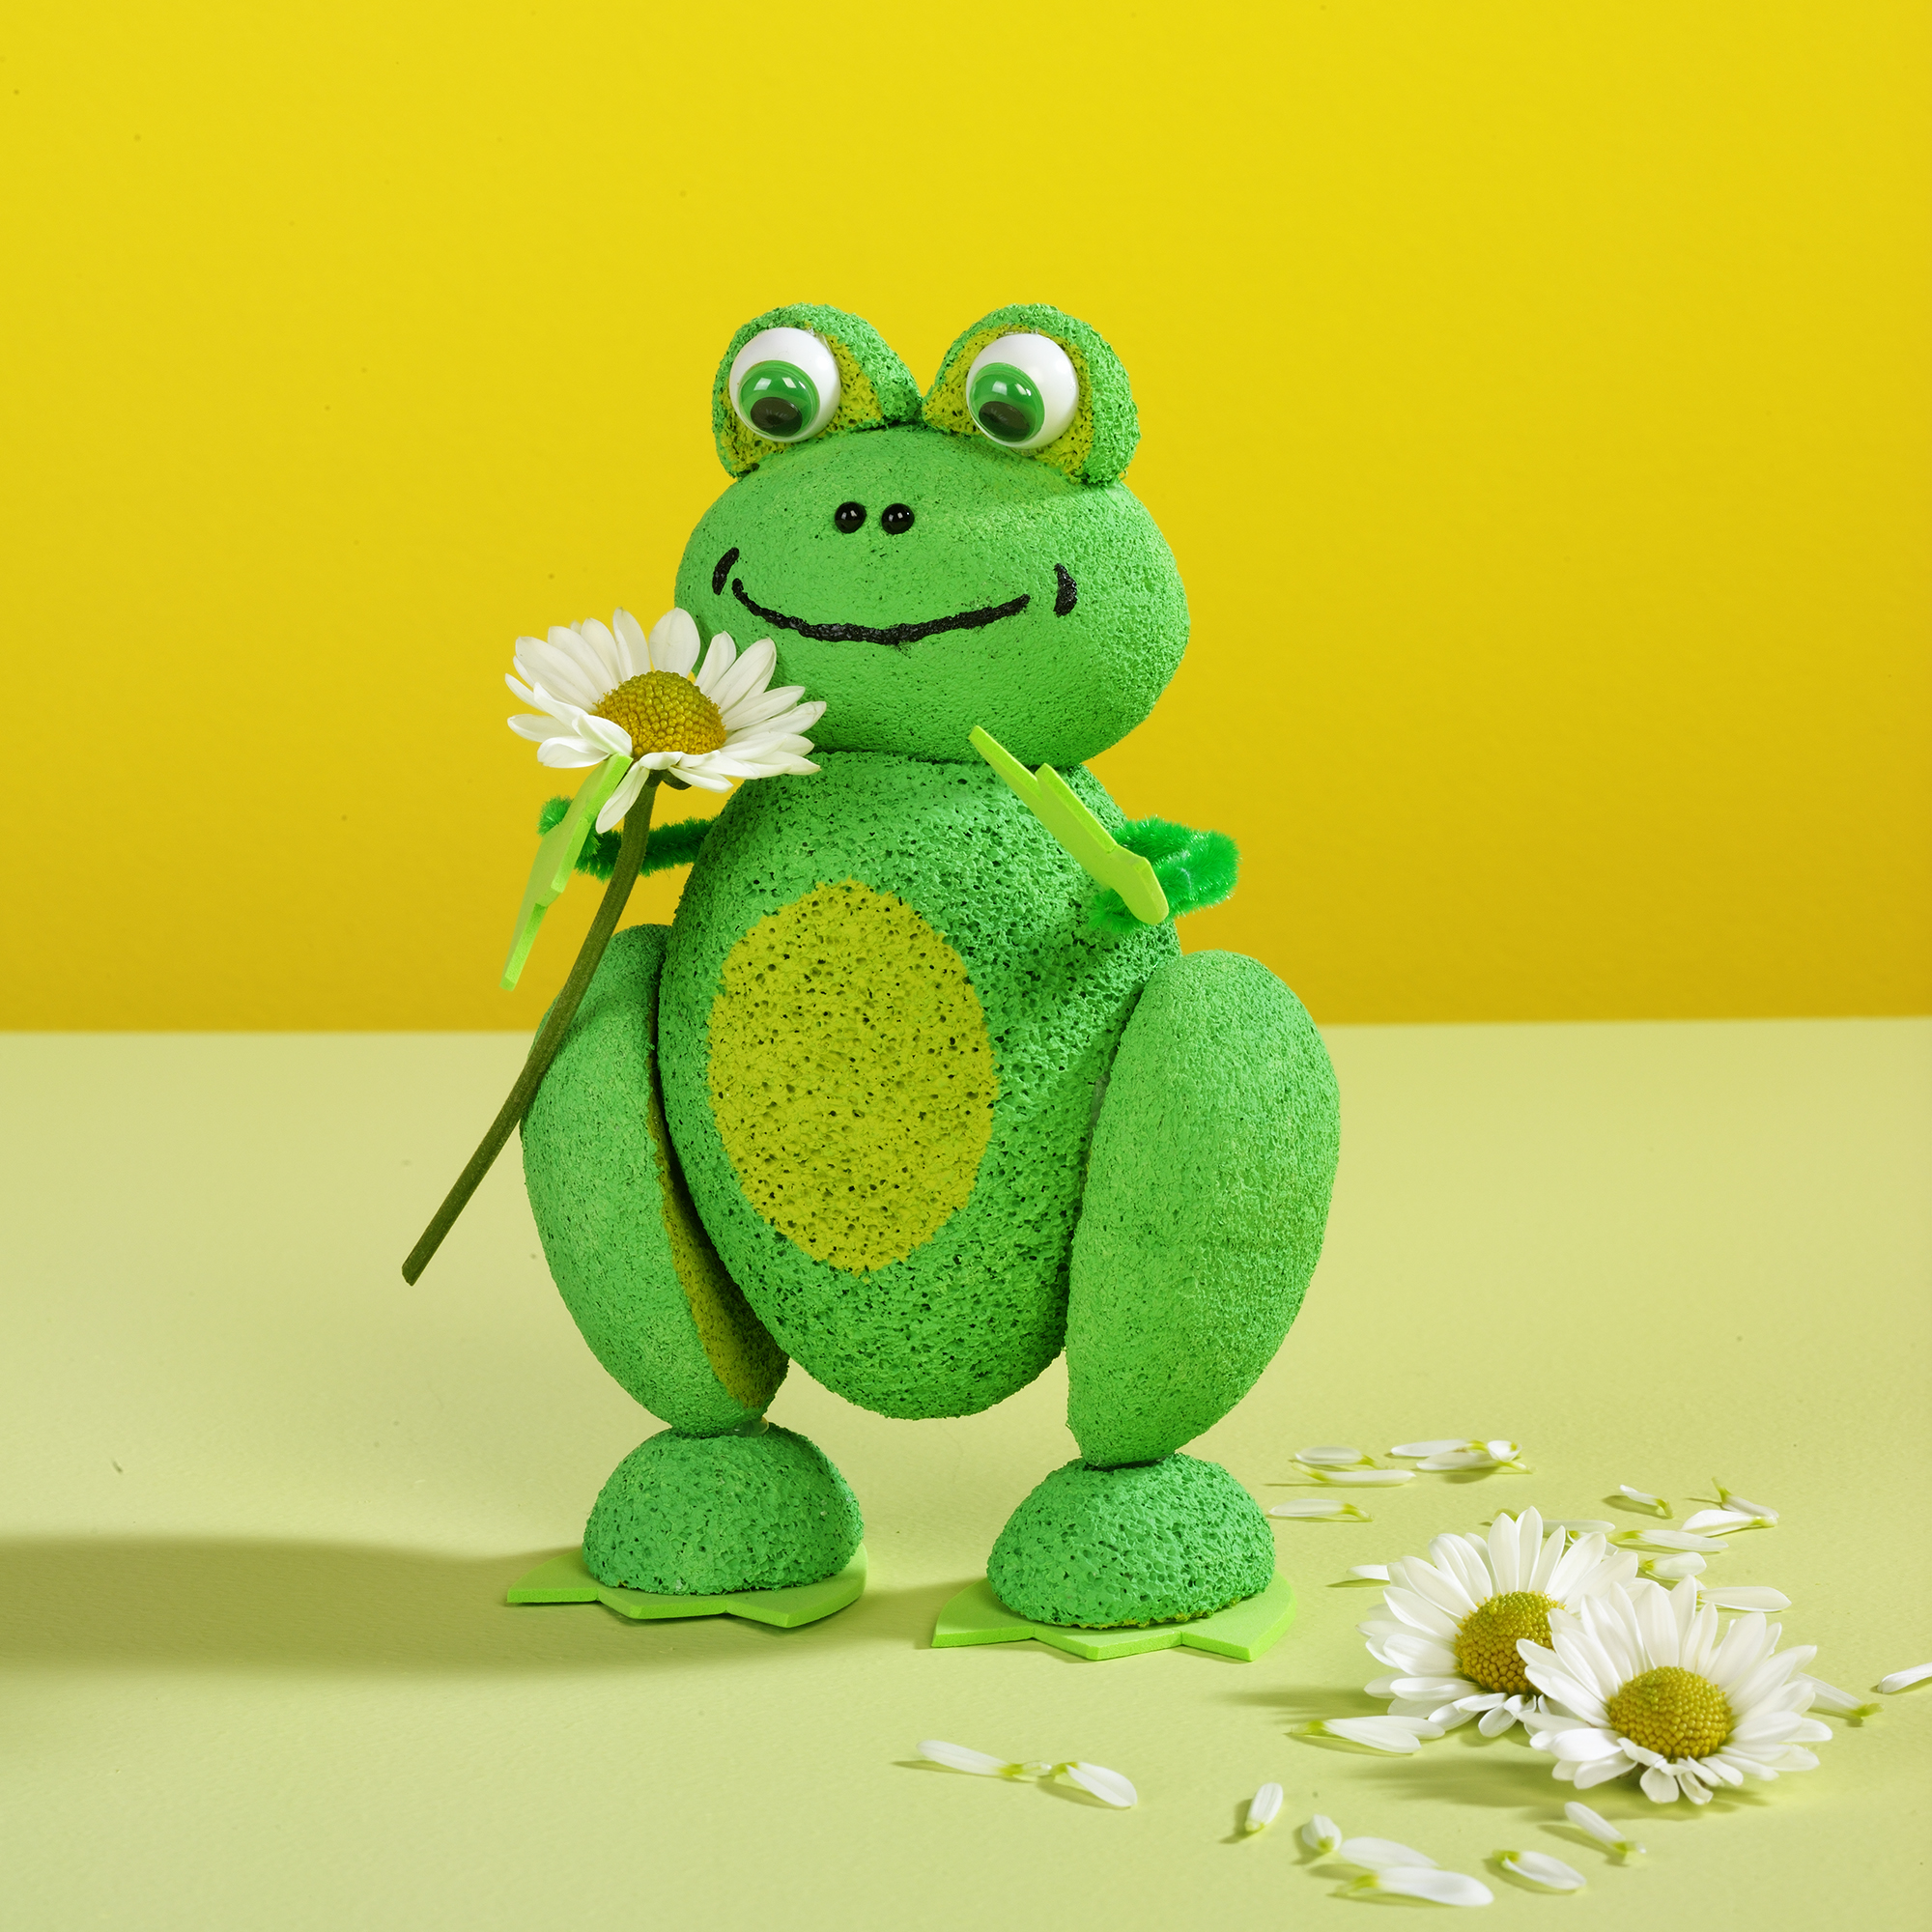
- Body: Cut a small flat spot off the wide end of the 4” egg body; this is where the head will attach. Cut a small flat spot centered on the side of the egg; this is the belly. Paint the egg green and paint the belly bright green and let dry.
- Head: Firmly roll the wide end of a 3” egg on the table to taper the wide end so that both ends of the egg look the same, creating a perfect oval. Cut a small flat spot on the center of one side of the egg; this is the bottom of the head. Paint the head green and let dry. For the eyes: Cut the ½” ball in half; the cut side is the front of the eye. Cut a small flat spot off the bottom edge of each half ball; this is where the eyes will attach to the head. Use your fingers to form the eyes, rounding the cut edges. Paint the eyes green, let dry, and paint the fronts of the eyes bright green and let dry. Glue the eyes to the top of the head almost touching. Glue the 15mm animal eyes or wiggle eyes to the foam eyes. Glue the two black beads about ¾” down from the eyes for the nostrils and use the black fabric paint to draw a mouth. Glue a toothpick into the bottom of the head and insert it into the body, using low-temp glue to secure.
- Legs and feet: Cut the other 3″ egg in half lengthwise and roll the cut edges on the table to round. Paint the half eggs green and paint the cut sides bright green. Let dry. Cut the 2.5″ egg in half lengthwise; then cut side is the bottom of the foot. Round the edges. Paint green and let dry. Glue a toothpick into the top of each foot then glue the narrow ends of the half eggs onto the feet. Glue the legs to the sides of the body as shown.
- Arms and hands: Cut out hands and feet from the green foam sheet. Be sure to make the feet larger than the hands. The hands are about 1 ¼” long and the feet are about 2 ½” long. Glue the foam feet to the bottom of the egg feet. Cut a green chenille stem in half. Pierce a small hole in the edge of the hand and thread the stem through about halfway. Fold the stem in half, twist the ends together and glue the twisted ends into the side of the body about ¾” down from the head. Repeat for other arms.
Costumes
- Easter Bunny: Cut two ears about 4 ½” long from the white craft foam sheet. Cut two pink centers from the pink craft foam sheet and glue in the center of the white ear. The tail is a 2” white pompom. Pin the ears and tail in place.
- Cupid: For the heart target, cut the 2” ball in half and set half aside for a future project. Coil a pink chenille stem around a pencil, pull off, and insert one end onto the rounded side of the half ball. Glue another piece of pink chenille stem around the bottom edge of the ball as shown. Cut a heart shape from the pink craft foam, about 3 ½” wide, and glue this to the top of the coiled pink stem. Draw a small circle with the purple fabric paint and draw a small dot (bull’s-eye) in the center with the pink. For the bow and arrow: Bend an 8” length of brown chenille stem in half, twist the ends together, and bend into a slight arch for the bow. Cut a piece of the white wrapped floral wire and twist it onto the ends of the bow. For the arrow: Glue the two heart jewels, back sides together, sandwiching them on the end of a toothpick, cut a small, unnoticed section of the white feather then glue to the other end of the arrow. Pin the white feathers to the back and hang the bow and arrow in his arms.
- Leprechaun: For the hat, cut a 3” circle, a 2” circle, and a 1 ½” x 6” strip of black craft foam. Glue the strip into a ring and glue it to the center of the 3” circle. Glue the 2” circle on top. Glue the green/gold ribbon around the hat. Draw a shamrock onto the green craft foam sheet and cut it out. Draw around the edge with the green fabric paint and let dry. Pin the hat on and use glue dots to attach the shamrock to his hand.
-
 Birthday Gift Tumbler MugSkill level: Beginner
 -
 Birthday Era GarlandSkill level: Beginner
 -
 Kitchen Word ArtSkill level: Beginner
 -
 Front Porch ReindeerSkill level: Beginner
 -
 Disco Party DécorSkill level: Beginner
 -
 Jute Covered Disc Wall DécorSkill level: Beginner
 -
 Fabric Ruffled Chicken DecorSkill level: Beginner
 -
 Garden Bug FriendsSkill level: Beginner
 -
 Long Legged SpiderSkill level: Beginner
 -
 Glitter Anchor DécorSkill level: Beginner
 -
 Gold Glitter StarSkill level: Beginner
 -
 Haunted Mantle DecorSkill level: Beginner
 Subscribe


