


Supplies
- FloraCraft® CraftFōM®:
- (2) 1” x 12” x 36” Sheet - White
- Decorative Mesh - Black
- Duct Tape - Black
- Acrylic Paint - Silver
- Light Weight Metal Embossing Sheets - Copper
- Glitter - Silver
- Decorative Wire:
- Copper
- Black
- Glittered Ribbon:
- ½” Sheer Orange
- 2” Black and Orange
- Silk Maple Leaf Branches - Black with Glitter
- Glittered Twigs - Black
- Glittered Leaf Picks - Orange
- Amber Acrylic Jewels - Assorted Sizes
- Clear Acrylic Jewels - Assorted Sizes
- Monofilament Line
- 1" Straight Pins
Tools
- Foam Cutter or Serrated Knife
- Low-Temp Glue Gun
- Scissors
- Black Marker
Instructions
(See below for how-to photos)
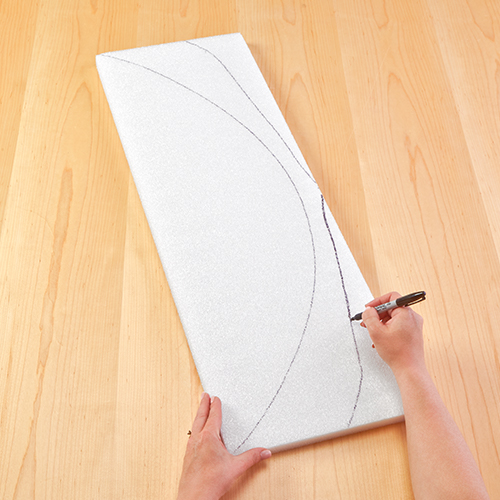
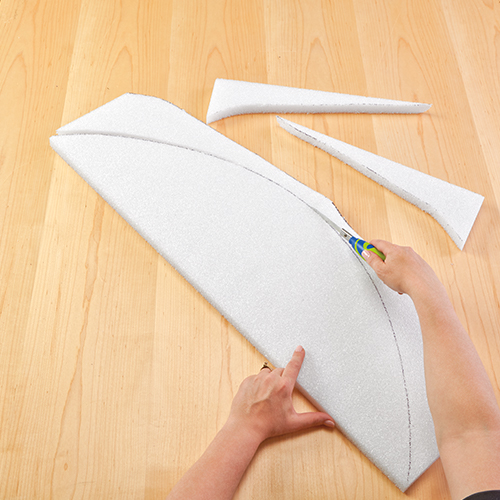
- Use the black marker to draw the curve of the hat brim along the 36” side of a foam sheet. The middle widest portion of the brim should be about 10” across. In the remaining opposite corners, draw the sloping silhouettes of the top portion of the hat as shown. Cut the hat pieces from the foam using the foam cutter or serrated knife.
- Build the framing for the hat by gluing the two top portions of the hat to the back center of the brim. Glue them at a 90-degree angle to one another, angling out from the center of the brim as shown.
- Cover the entire hat with strips of black duct tape. Be sure to overlap the tape for a secure hold. Use the top portion of the hat frame as a guide and fill the shape with strips of tape.
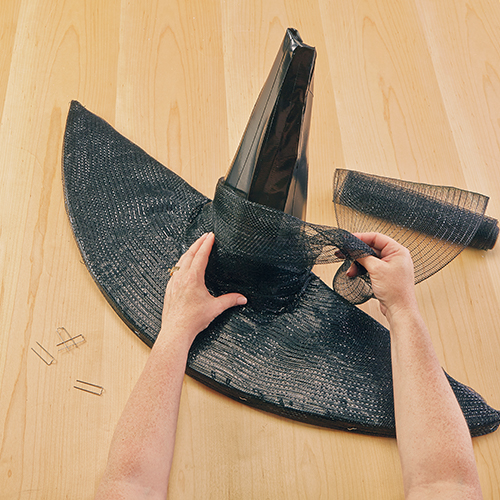
- Cut a 46” length of mesh and pin one edge along the front edge of the hat brim. Wrap the mesh across the top of the hat brim. Use scissors to trim the mesh around the top of the hat and at the back edge of the brim. Secure the mesh in place with pins.
- Gather the end of the black mesh together and pin it to the hat base. Wrap the mesh up the hat, pinning as you go to hold. Leave about a 6” tail of mesh hanging from the tip of the hat. Insert a 12” length of wire into the tip of the hat. Twist the wire around the 6” tail of the mesh and create a hook at the end of the wire to hang the jewel, as shown.
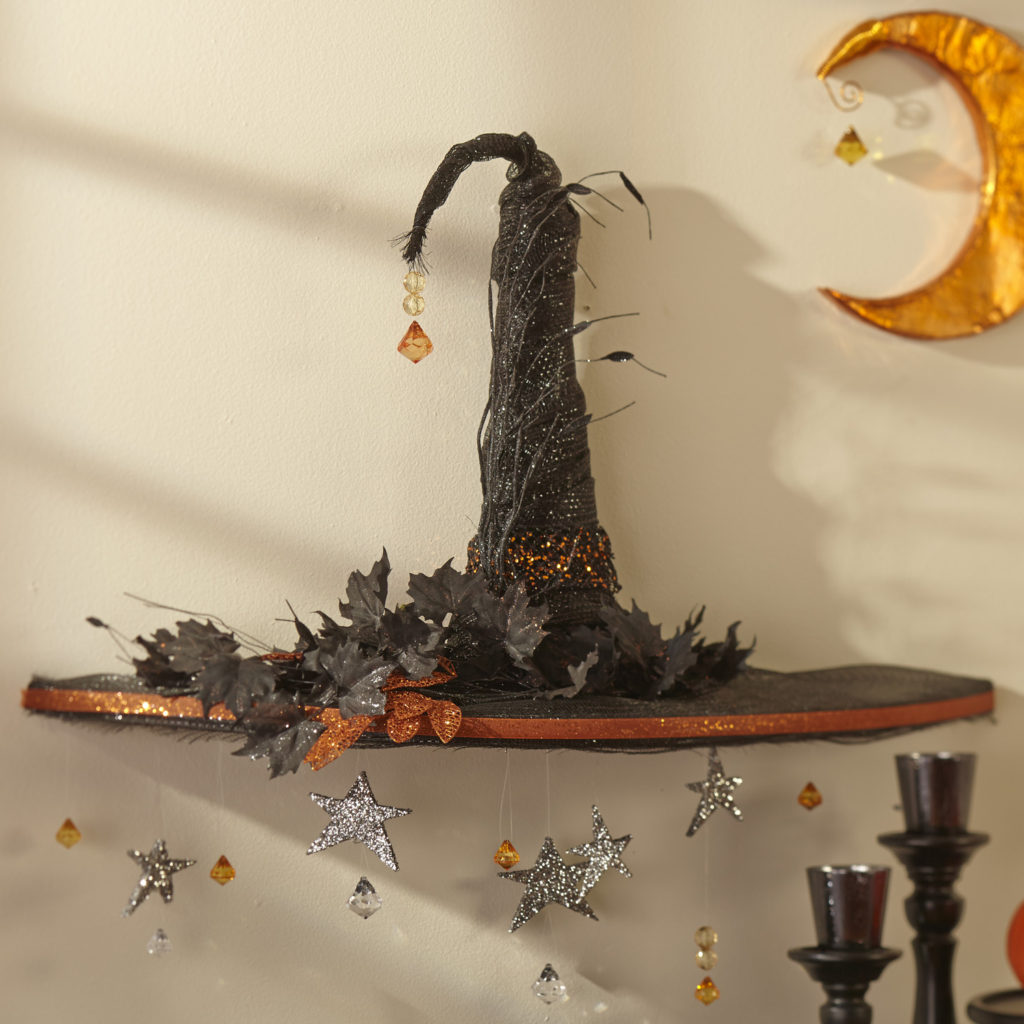
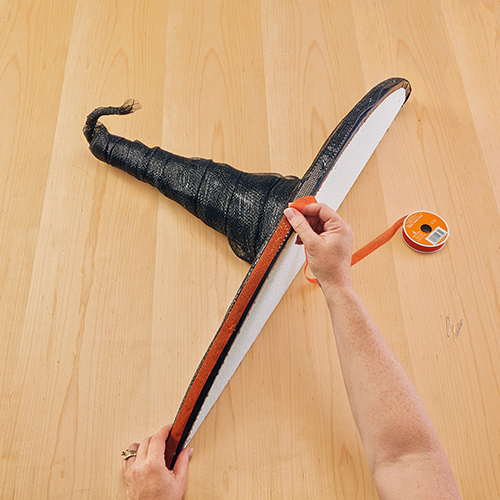
- Glue a length of sheer orange ribbon across the front of the hat brim to conceal the pins. String the jewels onto the monofilament line and hang from the tip of the hat with pins.
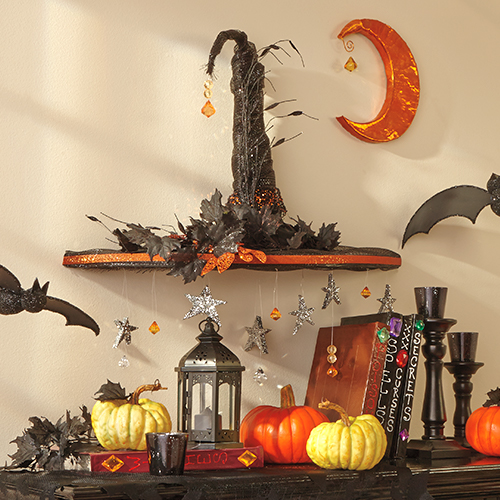
- Glue a 2” black/orange glitter ribbon around the base of the top of the hat. Arrange the branches, leaves, and twigs onto the hat brim and pin them.
- Draw a large crescent moon shape onto the other foam sheet with a black marker. Draw several stars of different shapes and sizes onto the remainder of the sheet. Use the StyroCutter® Plus to cut out the moon and stars. Hold the blade at a 90-degree angle to the foam to ensure an even straight edge. Be sure to follow the package instructions carefully.
- Completely cover the front and sides of the moon with the copper sheeting and glue in place. Starting about 3” up from the tip of the moon, wrap coils of copper wire to cover to the tip. Coil a hook at the tip to hold the jewel.
- Paint the stars with silver paint and sprinkle with silver glitter before the paint dries. The paint will secure the glitter in place as it dries. String jewels onto the monofilament line and pin them to the stars. Hang the stars from the hat brim using the straight pins. Add glue to the pins before inserting for a more secure hold.
-
 Birthday Gift Tumbler MugSkill level: Beginner
 -
 Birthday Era GarlandSkill level: Beginner
 -
 Kitchen Word ArtSkill level: Beginner
 -
 Front Porch ReindeerSkill level: Beginner
 -
 Disco Party DécorSkill level: Beginner
 -
 Jute Covered Disc Wall DécorSkill level: Beginner
 -
 Fabric Ruffled Chicken DecorSkill level: Beginner
 -
 Garden Bug FriendsSkill level: Beginner
 -
 Long Legged SpiderSkill level: Beginner
 -
 Glitter Anchor DécorSkill level: Beginner
 -
 Gold Glitter StarSkill level: Beginner
 -
 Haunted Mantle DecorSkill level: Beginner
 Subscribe


